Room By Room
Dining Room Hutch Design Ideas – Styling My Hutch Step-By-Step

You know that moment when your dining room hutch is totally empty, and you’re just staring at it thinking, “Okay… now what?” Yep, been there.
Styling a hutch sounds fun in theory—until you’re standing in front of those wide open shelves with no idea where to start.
That was me, not long ago.
Our hutch had turned into a resting place for random mail, mugs, and whatever else didn’t have a home. It was basically a very fancy junk drawer with glass doors.
But once I cleared it off and committed to giving it a fresh look, something shifted. I realized this little corner of our dining room had so much potential to tell a story—our story.
And with just a few styling moves, it went from bare to beautiful, and now it’s one of my favorite spots in the house.
Let me show you exactly how I did it—one step at a time.
Step 1: Clear It Out and Start Fresh
First things first—take everything off your hutch. Every plate, frame, little faux plant… gone.
Starting with a clean slate is key, not just visually but mentally. It helps you stop trying to “make it work” with what’s already there, and gives you room to get creative.
Once it’s empty, give it a quick wipe down and a slow look. Pay attention to the size of the shelves, the color of the wood, and how the light hits it throughout the day.
This helps you imagine what could go there, instead of what’s always been there.
If your dining room is on the smaller side, this step is especially important. A cluttered hutch can make the whole room feel heavy. Keeping it airy and intentional is a great way to open things up visually.
Check out my small dining room tips here if you’re working with a tight space.
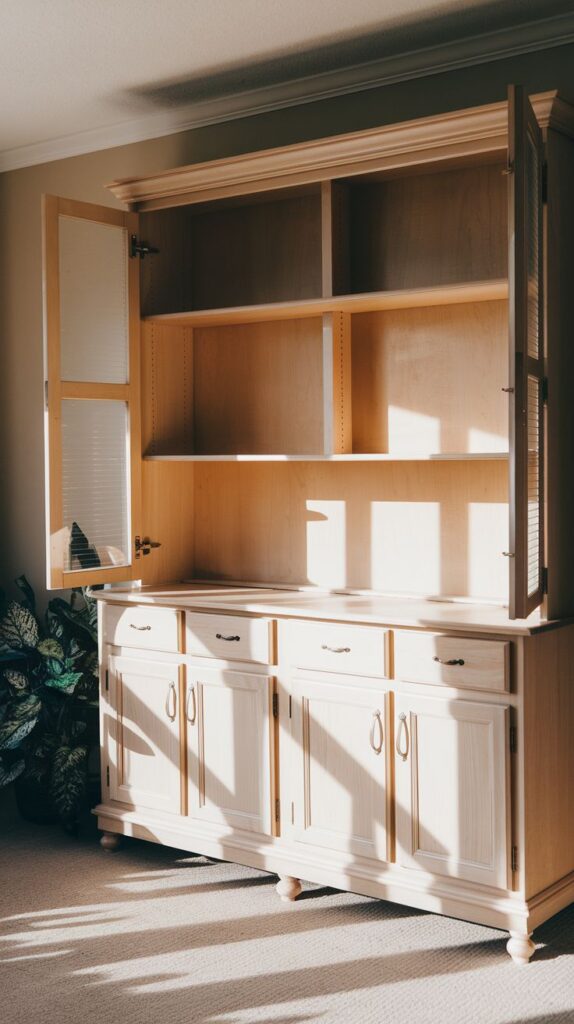
Picture this:
Your hutch completely cleared off—just smooth, clean shelves waiting for their next chapter. The blank canvas feels a little intimidating at first, but also exciting, like you’ve just opened a fresh notebook on the first day of a new season.
Step 2: Pick a Focal Piece to Anchor the Look
Now that your hutch is a clean slate, it’s time to give it a heart. Choose one piece that you absolutely love—something that sets the tone for everything else.
It could be a big ceramic pitcher, a framed vintage print, or even a chunky wood bowl.
For me, it was a pale blue stoneware vase I found at a flea market years ago. It’s tall and curvy and just rustic enough to feel warm without being too country. I placed it dead center on the middle shelf, and just like that, I had a starting point.
That one piece gave me a color palette, a shape language, and a vibe to build around.
If you’re not sure what your focal piece should be, walk through your house and see what jumps out at you. Sometimes it’s not what you’d expect.
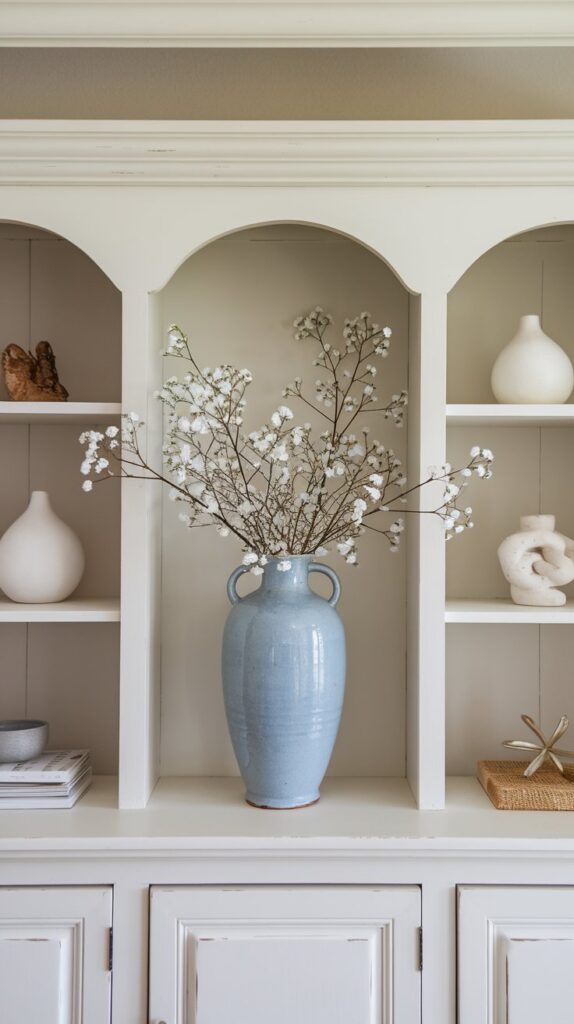
Picture this:
A single, oversized vase with soft curves and a subtle glaze sits centered on a mid-shelf. The light hits it just right, and it immediately draws the eye—simple, grounded, and full of personality.
Step 3: Layer in Texture and Shape
Now the fun really begins—adding supporting pieces that bring your focal point to life. This is where you get to play with contrast, color, and composition.
Think: plates standing vertically behind stacked bowls, a small stack of linen napkins with a ceramic bird on top, a couple of books with weathered spines, or a woven basket tucked to the side.
It’s not about stuffing your hutch full—it’s about layering in pieces that create interest and movement.
I like to use a mix of heights and shapes. Flat objects next to tall ones. Round next to square. And always a little breathing room between them.
Try propping a cutting board or large charger in the back to add depth—it’s like giving your styling a backdrop to shine against.
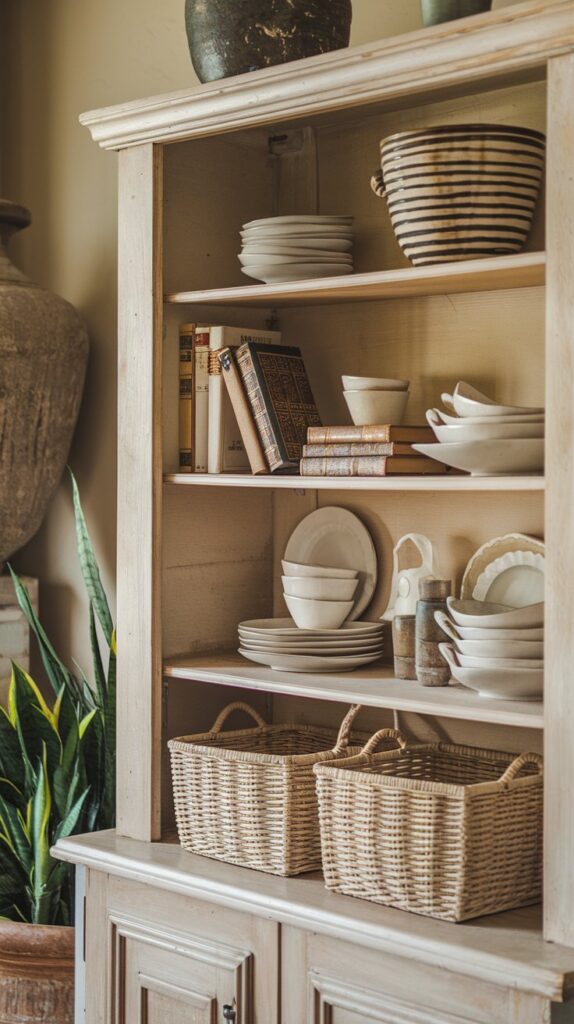
Picture this:
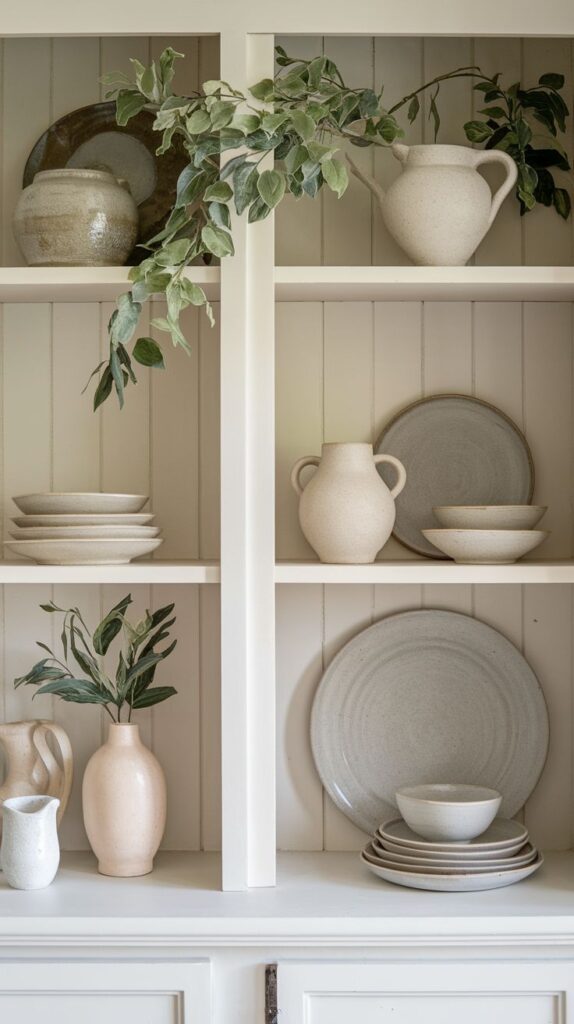
Neutral-toned layers fill the hutch: a stack of white plates, a small bundle of books tied with twine, a basket filled with linen napkins, and a simple candle holder standing tall in the corner. Everything feels collected, not crowded.
Step 4: Add Something Personal
This is the part that really makes it feel like you. Sure, styled books and pretty plates are nice, but don’t forget to mix in something meaningful.
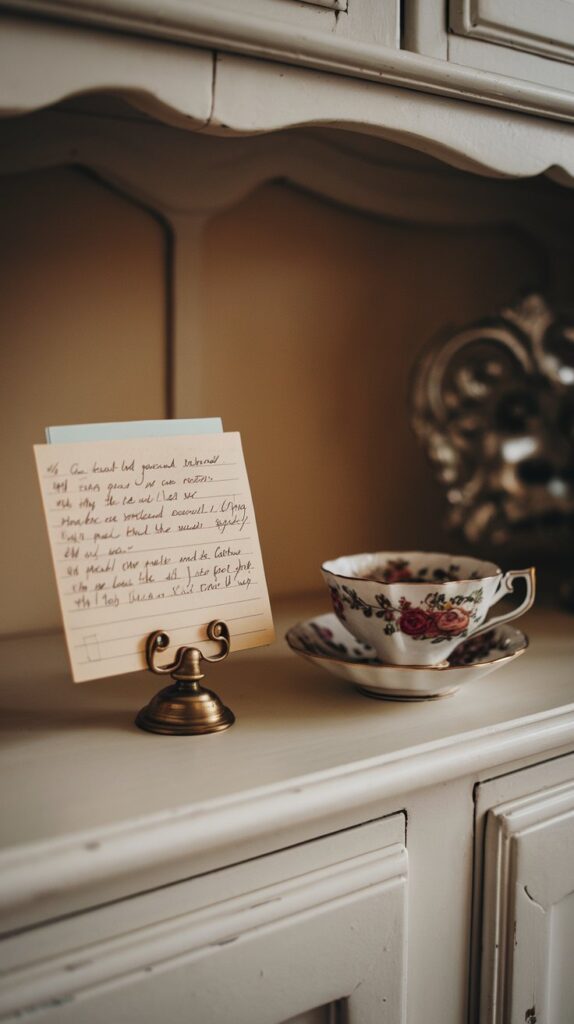
I tucked in a handwritten recipe card from my grandma, placed in a tiny brass photo holder. Just seeing it makes me smile every time I walk by.
Maybe for you, it’s a tiny framed photo, a souvenir from a special trip, or a family heirloom. These are the pieces that give your hutch heart.
Try not to overthink it—just ask yourself, “What makes me happy to look at every day?”
Picture this:
A delicate recipe card in faded ink, nestled beside a teacup and saucer passed down through generations. It’s a quiet little corner of the hutch that feels like a warm hug.
Step 5: Edit It Like a Pro
Once you’ve got everything placed, take a step back and breathe it in. Then—here’s the magic trick—remove one or two things.
Yes, really.
Sometimes we go too far with the layering and it ends up feeling busy instead of beautiful. Giving your pieces some space to breathe makes the whole arrangement look more intentional and curated.
I also like to change out a few small elements each season—swap greenery for pine in the winter or add a pop of color in spring. But the overall structure stays the same, which keeps styling simple and fun.
Picture this:
A perfectly balanced hutch, each shelf holding just enough: curated pieces, cozy textures, and one empty space that makes the whole thing sing.
A Hutch That Feels Like You
At the end of the day, styling a hutch isn’t about copying someone else’s Pinterest photo—it’s about creating a little moment in your home that feels like you. A mix of beauty, function, and personality.
So clear it off, start fresh, and style with heart. I promise, your hutch is more than just a shelf—it’s a story waiting to be told.