DIY
How To Build a DIY Wooden Bench for an Outdoor Cozy Seating Nook
Would you like to know how to build a DIY wooden bench that feels like a warm hug from your backyard? It starts with a little imagination, a few 2x4s, and a free weekend.
Picture this: a quiet morning, a steaming cup of coffee, and the perfect little wooden bench tucked under your favorite tree or beside your garden. It’s that kind of cozy, slow-living charm that makes a house feel like home. And the best part? You can build it yourself. Yes, really.
Whether you’re craving a sweet spot to sip tea, a weekend DIY project, or just want to give your backyard a little love, this guide will show you exactly how to build a DIY wooden bench that’s sturdy, stylish, and oh-so-satisfying to sit on.
Let’s grab our tools and make some sawdust magic.
What You Might Need
Materials
- 8 eight-foot 2x4s
- 1 eight-foot 2×6
- Wood stain and sealer (waterproof)
- Wood screws
- 80-grit sandpaper
- Paintbrush for staining
Tools Needed
- Saw
- Drill
- Pocket hole jig
- Sander
- Measuring tape
- Square
- Clamps (pipe clamp recommended)
- Sawhorses or work table
Cutting List
- 2 — 52″ (2×4) – Seat frame sides
- 3 — 16.5″ (2×4) – Seat frame cross pieces
- 5 — 51″ (2×4) – Seat boards
- 2 — 24″ (2×4) – Front legs
- 2 — 32″ (2×4) – Back legs
- 2 — 22.5″ (2×4) – Armrests
- 7 — 19″ (2×4) – Backrest boards
- 1 — 52″ (2×6) – Backrest top cap
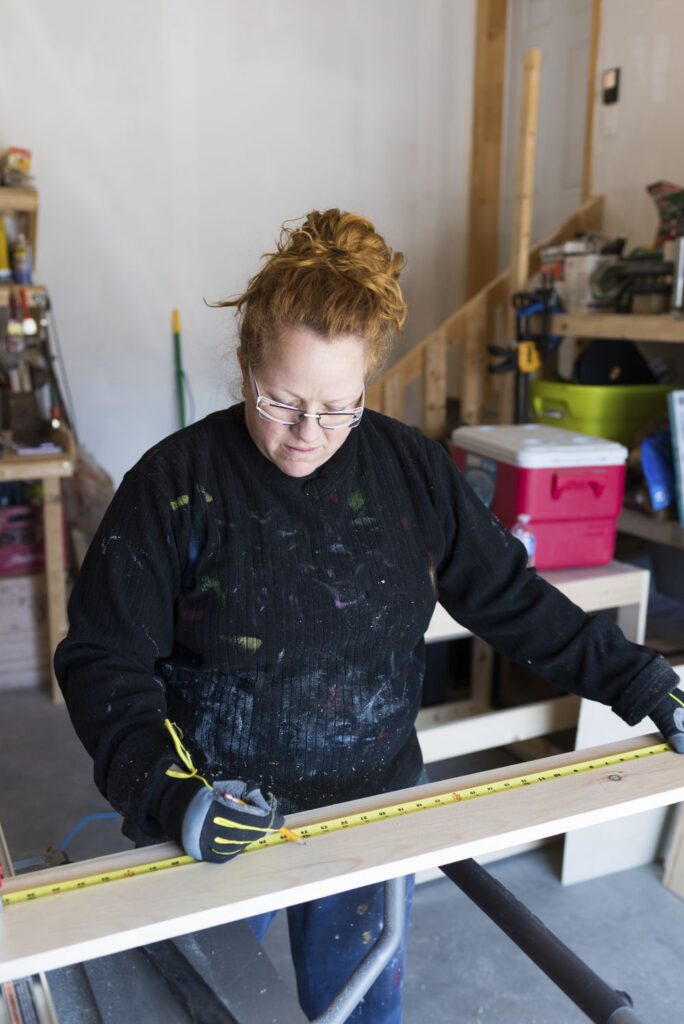
Prep First: Cut, Sand, and Stain

Before we build, we prep—because nothing’s worse than realizing halfway through that you forgot to sand your armrests.
Steps
- Cut all boards according to the cutting list above.
- Sand everything with 80-grit sandpaper. Smooth edges are happy edges—especially for armrests!
- Gently round off the front edge of your 22.5″ armrest pieces.
- Stain all sides, including the end grains. Go for two coats, letting each dry completely between applications.
Picture This
Boards laid out in neat stacks on a sunny patio, a soft brush dragging stain across the grain while a light breeze carries the scent of fresh wood and summer dreams.
Build the Seat Frame
This is the backbone of your bench—and you’ll feel pretty empowered watching it come together.
Steps
- Drill pocket holes into both ends of the 16.5″ boards.
- Join them between the 52″ side pieces using clamps for alignment.
- Screw everything together tightly to form a sturdy rectangle.
Picture This
That first moment of structure—your rectangular frame resting proudly on the work table, looking like it’s already halfway to being a bench.
Add the Seat Boards
Time to give this bench its cozy landing spot.
Steps
- Pre-drill and countersink holes in each 51″ seat board to avoid splitting.
- Use a jig or scrap wood to guide consistent hole placement.
- Install each board across the top of the frame with a 0.5″ gap between them.
- Use spacers between the boards to keep everything even.
Picture This
The top of your bench starting to look real—plank by plank, those gorgeous wood tones glowing in the light, gaps perfectly spaced like a dream.
Add Front Legs and Armrests
Let’s give this beauty some legs to stand on (literally).
Steps
- Drill pocket holes on one side of each 24″ front leg.
- Attach the 22.5″ armrests with a 1.5″ overhang in front and the rounded edge facing forward.
- Screw the front legs and armrests together, pocket holes facing the back.
- Attach each front leg to the seat frame, measuring 13″ from the bottom of the leg to the bottom of the frame. Check for square before tightening.
Picture This
Two solid front legs standing tall, arms outstretched, looking like the beginnings of a bench that’s ready to welcome you home.
Install the Back Legs
This is where comfort really starts to happen—your back will thank you later.
Steps
- Position each 32″ back leg so that the seat frame sits 13″ up from the ground.
- Screw through the back of each leg into the seat frame.
- Measure 6.5″ from the top of the back leg to the top of the armrest.
- Drive two screws through the back leg into the side of the armrest.
Picture This
The frame’s taking shape like a real bench now, back legs propped perfectly, strong and graceful—like it’s always been there waiting for you.
Create the Backrest Boards
Now it’s time to design the cozy support for those leisurely afternoons.
Steps
- Drill two pocket holes in one side of each 19″ backrest board.
- On your 2×6 top cap (52″), mark 3.5″ from each end to leave space for the legs.
- Then mark 2-7/16″ gaps between each board placement.
- Clamp each board in place following the marked spacing.
- Screw each board into the 2×6 top cap with pocket hole screws.
Picture This
The top rail coming together like a puzzle, each slat placed just so—clean lines and precision that feel as lovely as they look.
Attach the Backrest
Almost there—this is the part that makes your bench super inviting.
Steps
- Drill two pocket holes into the top back of each back leg.
- Position the top cap with attached backrest boards on top of the back legs, flush with the sides.
- Clamp and screw the top cap into the legs.
- Add two screws through the bottoms of the backrest boards into the seat frame for added support.
Picture This
That final satisfying clunk of the drill, the backrest snug in place, and the whole bench standing proud like it’s been waiting to star in your next garden party.
The Finishing Touches
You made it. Now let’s wrap up this beauty with care.
Steps
- Touch up any exposed screw holes or raw edges with stain.
- Optional: insert and stain pocket hole plugs for a clean finish.
- Let the stain cure completely before using.
- Add cushions, a throw, or even a little side table if you want to go all out.
Picture This
A finished bench gleaming under the soft light of golden hour, a patterned cushion tossed on top, ready for its first cup of coffee or heartfelt conversation.
Build It, Love It, Lounge On It
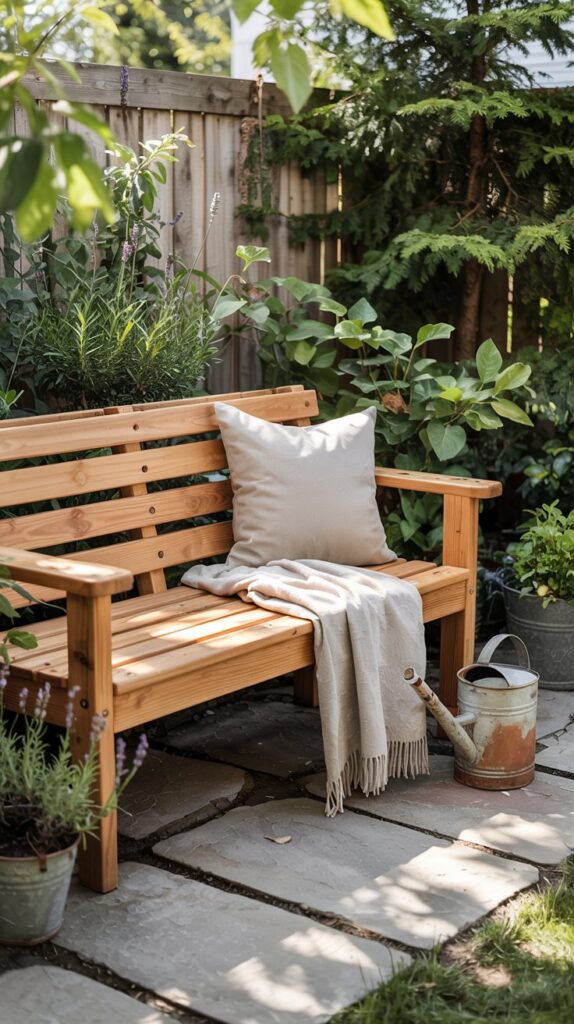
And there you have it—a handmade wooden bench that’s more than just a seat. It’s a little nook of joy, a project you’ll feel proud of every time you sit down.
Whether it’s tucked under a tree, placed by your porch, or nestled in your favorite sunny corner, this DIY wooden bench is a reminder that beautiful things can be built with your own two hands.
So pour a glass of lemonade, invite the cat over, and enjoy your cozy little corner of the world. You built it, after all.
