Outdoor Decor
Low-Cost Gravel Hardscaping Ideas
Picture this: it’s a warm Saturday morning, you’ve got a coffee in one hand and a shovel in the other, and your backyard is finally getting the glow-up it deserves—without draining your bank account. That’s the magic of these low-cost gravel hardscaping ideas. They are budget-friendly, beautiful, and beginner-approved.
Whether you’re dreaming of a charming garden path, a cozy fire pit zone, or just trying to tame a wild corner of your yard, gravel is the unsung hero that makes it all happen. And guess what? You don’t need a crew of landscapers or a truckload of cash to make it work.
Let’s dig into some creative, doable ways to transform your outdoor space using nothing but gravel and a little weekend effort.
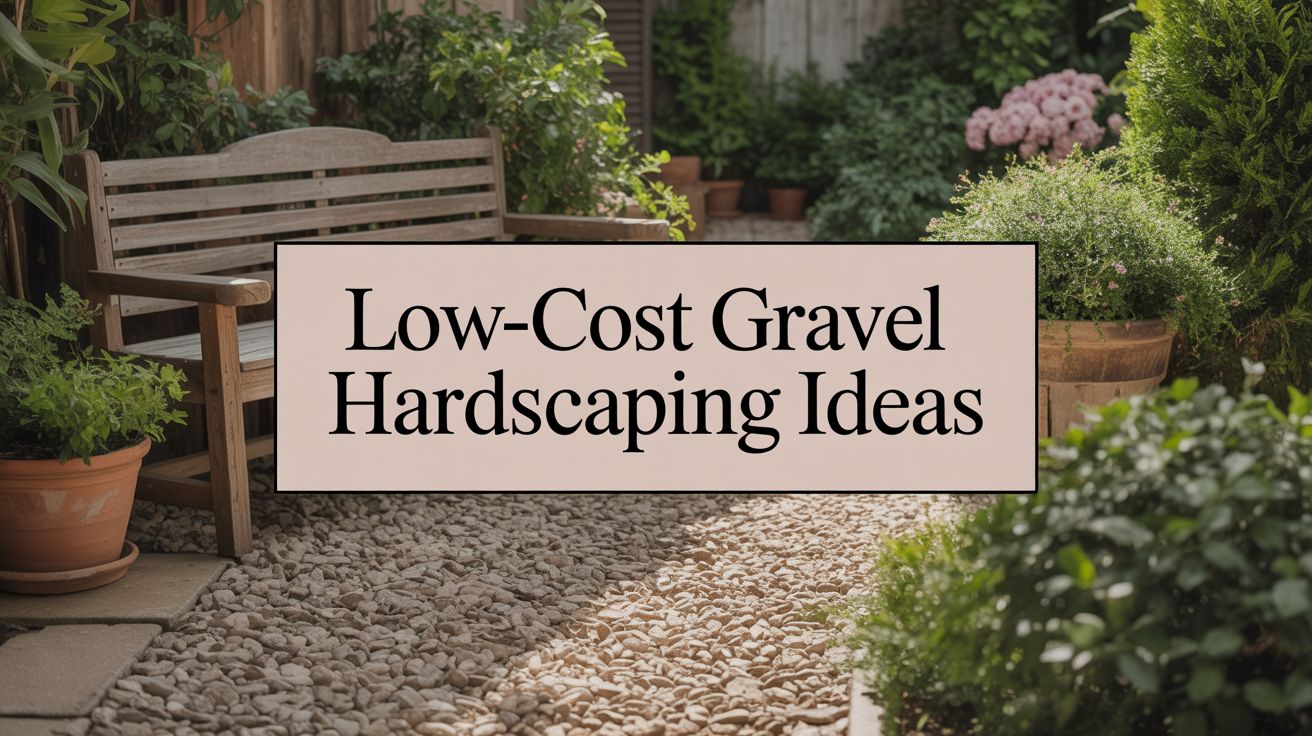
Garden Pathway with Cottage Charm
Nothing says “welcome” like a sweet little gravel path that crunches underfoot as you stroll through the garden. This classic hardscape idea is not only budget-friendly—it’s timeless and oh-so-charming.
What You Might Need:
- Pea gravel or crushed granite
- Landscaping fabric
- Garden edging (metal, plastic, or stone)
- Shovel and rake
- Stakes and twine (to outline the path)
- Hand tamper or board for compacting
Start by mapping your path with twine or a garden hose. Clear any grass, debris, or weeds, and dig down about 2–3 inches along the entire length. Use a shovel and rake to level the surface, ensuring water won’t pool. Lay down landscape fabric to prevent weeds, then secure edging along both sides. Pour in the gravel, level it out, and tamp it down to compact the surface.
Picture This:
A softly curving gravel path weaving through blooming lavender and wildflowers, bordered by aged metal edging. A pair of vintage garden clogs sits beside a wrought-iron bench at the end of the trail.
Fire Pit Lounge Area
Who says you need a pricey paver patio to enjoy s’mores under the stars? A gravel fire pit area is the laid-back, low-cost way to gather your favorite people.
What You Might Need:
- River rock or decomposed granite
- Steel fire ring or portable fire pit
- Weed barrier fabric
- Metal or stone edging
- Shovel, rake, and hand tamper
- Outdoor chairs or benches
Choose a flat spot away from structures and trees. Remove grass, debris, and rocks, then dig down 3–4 inches and level the entire area. Lay down your weed barrier and install edging to create a defined shape. Pour in the gravel and spread it evenly. Use a tamper to compact the surface. Center your fire ring and add your seating around it.
Picture This:
A circular gravel patio surrounded by Adirondack chairs and glowing string lights overhead. In the center, a cozy fire pit crackles as marshmallows roast and laughter fills the air.
Gravel Patio for Dining Alfresco
Turn a patch of your backyard into a charming gravel patio for dining and entertaining—without pouring a single drop of concrete.
What You Might Need:
- Crushed gravel or ¼-inch limestone
- Landscape fabric
- Level, shovel, and tamper tool
- Patio pavers (optional for furniture feet)
- Outdoor dining table and chairs
- Garden hose or tape measure to mark layout
Mark your patio outline with a hose or string. Remove any sod and dig down 3–4 inches. Use a shovel and level to create a smooth, even base. Roll out landscape fabric, secure the edges, and install edging all the way around. Pour in the gravel, level it, and tamp everything down. Add pavers beneath furniture legs for stability if needed.
Picture This:
A simple gravel patio with a weathered farmhouse table set with linen napkins, candles, and a pitcher of lemonade. Olive trees in planters add a Mediterranean vibe while café lights dangle from nearby poles.
Side Yard Makeover
That awkward strip between the house and the fence? It’s the perfect place for a low-cost gravel transformation.
What You Might Need:
- Pea gravel
- Edging strips
- Landscape fabric
- Shovel and rake
- Stepping stones (optional)
- Planters or a storage bench
Clear out weeds, debris, and any uneven ground. Dig down a couple of inches and level the area, checking for slope or puddling. Lay down weed barrier and secure the perimeter with edging. Pour in your gravel, spread evenly, and tamp to settle. Add stepping stones if you’d like to break up the look or lead to a specific area.
Picture This:
A sleek gravel walkway running between the house and fence, dotted with terra cotta planters filled with hardy herbs. A small wooden bench sits beneath a climbing vine trellis, giving new life to a forgotten zone.
Gravel Base for Raised Beds
Gravel isn’t just for decoration—it’s the perfect base layer for keeping your garden beds neat and tidy.
What You Might Need:
- Crushed gravel
- Landscape fabric
- Raised garden beds or wooden planters
- Shovel and rake
- Hand tamper
Choose a flat spot for your garden beds and clear the area of grass or debris. Dig out a 2–3 inch layer of soil and rake it smooth to level. Lay down landscape fabric and pour gravel over the entire area. Spread evenly and tamp to create a firm base before placing your raised beds on top.
Picture This:
Two cedar raised beds sitting atop a light gravel bed, with thyme and tomatoes reaching for the sun. A rustic watering can leans against one corner, and a gravel path loops around the planting space.
Zen-Inspired Meditation Nook
Need a little calm in your yard? A mini gravel courtyard with soothing touches can bring serious peace of mind.
What You Might Need:
- Fine gravel or white pea gravel
- Landscape fabric
- Bamboo edging or river stones
- Small water feature or statue
- Shovel, rake, and tamper
- Meditation cushion or bench
Pick a quiet, shady corner. Clear and level the ground, digging 2–3 inches down. Lay landscape fabric and secure the edges. Add your gravel, level it, and tamp it flat. Frame the area with smooth stones or bamboo edging, and place your focal point in the center.
Picture This:
A small square of pale gravel framed by smooth stones and bamboo edging. In the center sits a low bench next to a bubbling ceramic water feature, with shadows dancing from nearby foliage.
Gravel + Pavers Stepping Grid
Mix gravel and pavers to create a modern-looking patio or walkway that looks way more expensive than it actually is.
What You Might Need:
- Square or rectangular concrete pavers
- Gravel (choose a color that complements your pavers)
- Landscape fabric
- Level, measuring tape, and tamper
- Garden spade or hoe
Lay out your grid design using a tape measure. Clear and dig out the space where pavers and gravel will go (about 3 inches deep), then level the ground throughout. Lay landscape fabric and position the pavers in your chosen pattern. Fill the gaps with gravel, spread evenly, and tamp the whole area for a firm, polished finish.
Picture This:
A crisp pattern of large square pavers nestled into silvery gravel, forming a grid-like patio. Ferns and boxwoods in square planters frame the edges, and a modern bistro table sits off-center for balance.
Dry Creek Bed for Drainage (and Style)
Gravel can be a problem-solver and a design feature all in one with a decorative dry creek bed.
What You Might Need:
- Medium to large gravel or river rock
- Landscape fabric
- Flat shovel
- Large stones or boulders
- Drought-tolerant plants
Map the path of your creek bed and dig a shallow trench. Remove loose soil, then level the trench bottom as much as possible while allowing for gentle slope. Lay landscape fabric inside the trench, add larger rocks and boulders along the edges, and fill the center with gravel. Finish with plants on either side for softness.
Picture This:
A winding dry creek bed of smooth river rocks and gravel, flanked by purple salvia and spiky grasses. A low bridge crosses over it, adding charm while keeping shoes dry during spring rains.
Gravel Around Trees and Seating Areas
Instead of struggling to grow grass around trees or shady spots, use gravel to create a charming seating nook beneath the canopy.
What You Might Need:
- Gravel of your choice
- Landscape fabric
- Tree ring edging or flexible border
- Shovel and rake
- Small bench or bistro set
Rake out debris beneath the tree and gently level the soil, being careful not to disturb surface roots. Lay landscape fabric and install edging to keep the gravel contained. Pour gravel, spread it out, and tamp the surface gently to avoid compacting near the roots. Add seating and shade-loving planters.
Picture This:
A round gravel base encircling an old oak tree, with a wrought-iron bench perched nearby and a lantern hung from a low branch. Ferns peek out from the shade, creating a secret garden vibe.
Tidy Trash Can or AC Unit Pad
Let’s be honest—gravel is a hero when it comes to hiding the ugly parts of your yard.
What You Might Need:
- Coarse gravel or crushed stone
- Landscape fabric
- Paver stones (optional)
- Edging
- Shovel and level
Pick a location with good drainage. Clear grass or weeds and dig 3–4 inches deep. Use a level to flatten the entire area, then install edging and fabric. Pour gravel, rake smooth, and tamp firmly. Add pavers under trash bins or units to prevent sinking if needed.
Picture This:
A neat gravel pad tucked beside the garage, holding two sleek garbage bins behind a small privacy screen. Nearby, a tall grass shrub adds greenery without needing much maintenance.
The Gravel Lowdown
When it comes to low-cost gravel hardscaping, the beauty is in the simplicity. Gravel is one of the most forgiving, affordable, and downright charming materials you can work with—and it plays well with so many styles, from cottagecore to minimal modern.
You don’t need a big budget or power tools—just a free weekend, a bit of vision, and maybe a playlist to keep you company. And by the end of it? You’ll have an outdoor space that feels pulled-together, peaceful, and perfectly you.
Picture This:
Your backyard, transformed. Soft paths, tidy corners, and inviting little spaces all brought to life with humble gravel. You step back, coffee in hand, and think—yep, I did that.
