Outdoor Decor
Refresh Old Outdoor Furniture with Paint
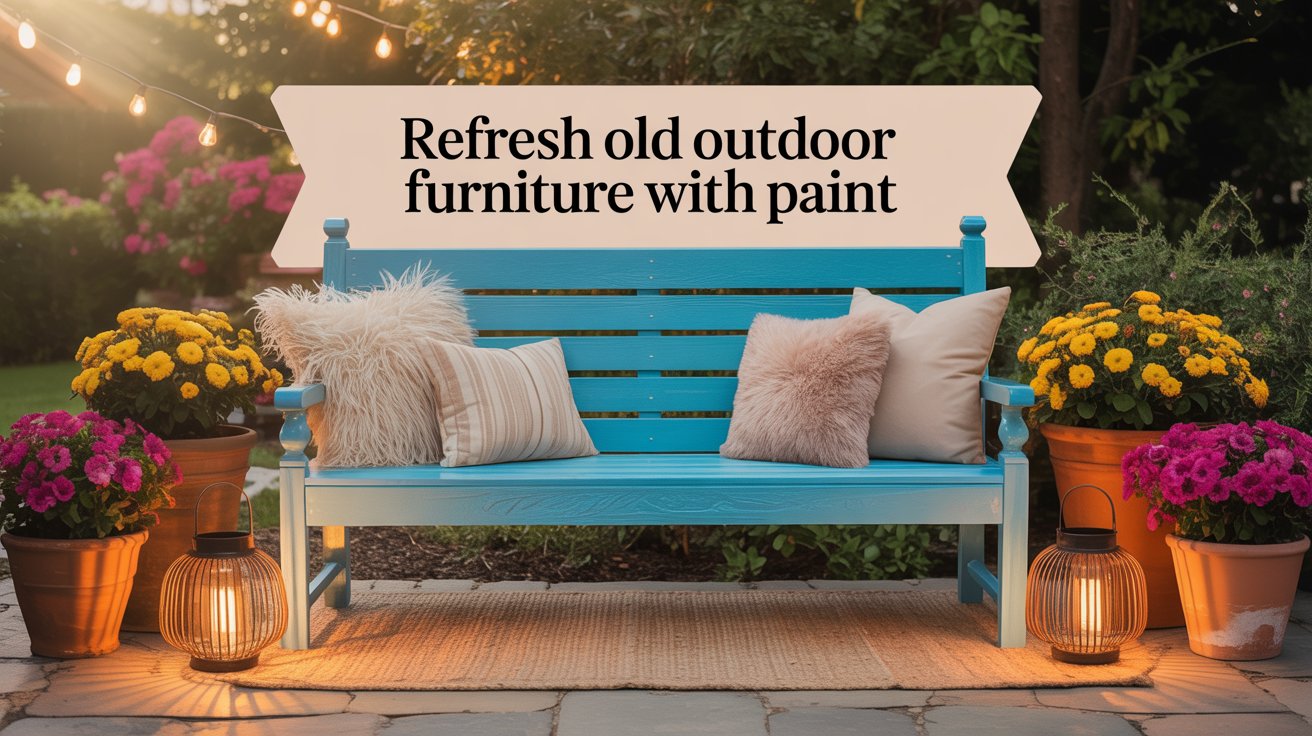
You’d be amazed what a can of paint can do. If you’re looking to refresh old outdoor furniture with paint, this is your sign to finally transform those faded, rusty, or blah patio pieces into something swoon-worthy.
With just a few hours (and a splash of color), you can give your backyard an instant makeover—no big budget required.
Let me set the scene: You walk out to your patio with coffee in hand, ready for a peaceful morning… but instead of relaxing, all you can see is that faded, chipping lawn chair from 2009.
We’ve all been there. Before you write it off as junk, I’m here to tell you — that old furniture has potential. A little color, a lot of charm, and one good weekend can totally transform it.
I’m going to walk you through how to give that old outdoor furniture a refresh with paint—step by step. Not only will you save money, but you’ll feel wildly proud every time you step outside. Ready to give your patio a glow-up?
What You Might Need
- Outdoor-safe spray paint or acrylic latex paint
- Sandpaper or sanding sponge
- Drop cloth or tarp
- Mild soap and water
- Clean rags
- Painter’s tape
- Outdoor primer (optional)
- Sealant or topcoat (clear, weatherproof)
- Optional: wire brush, new hardware, stencils, or accessories
Peek at What You’re Working With
Let’s not paint over problems. Start with a good inspection of your outdoor pieces. Are we dealing with rusty metal, peeling paint, or weather-worn wood?
Steps:
- Check for broken slats, rust, or mold
- Tighten screws or bolts if anything’s wobbly
- Decide what needs sanding, scrubbing, or maybe a little extra love
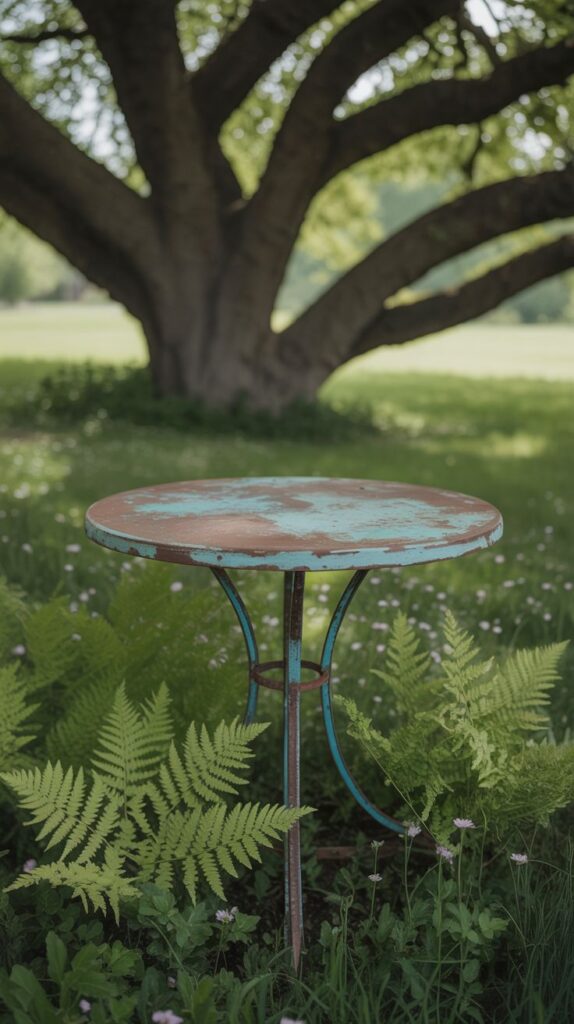
Picture This: A weathered metal bistro table with cobwebs and faded paint sits under a shady tree, ready for revival. You imagine it soon in a soft sage green, paired with lemon-yellow cushions and a vase of daisies.
Scrub It Down and Let It Shine
Dirt and dust are dream crushers when it comes to paint. Cleaning your piece ensures that all your effort actually sticks — literally.
Steps:
- Mix mild soap and water in a bucket
- Use a sponge or brush to scrub every nook and cranny
- Rinse and let fully dry in the sun
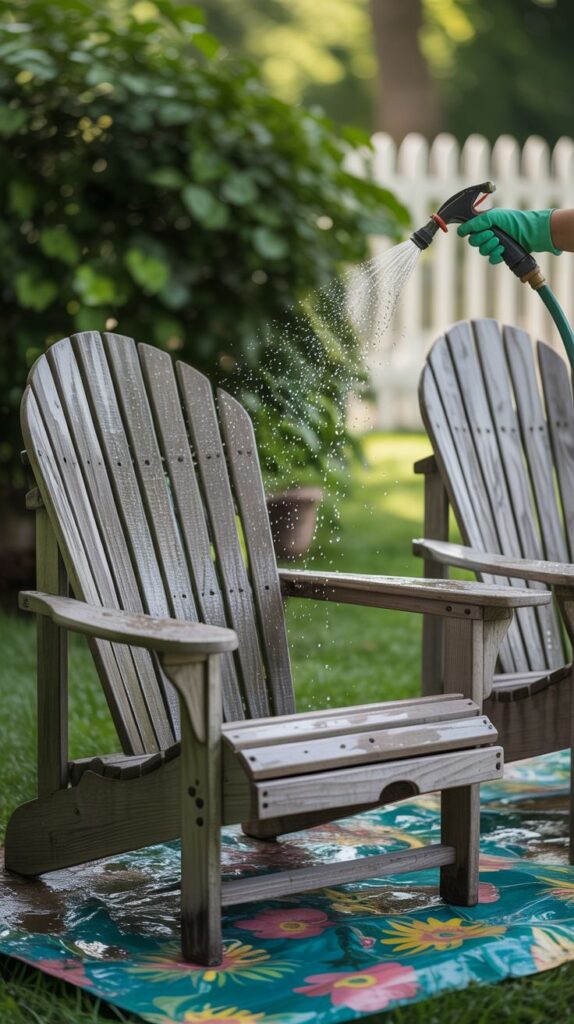
Picture This: A pair of wooden Adirondack chairs covered in pollen are getting a soapy bath with a garden hose nearby. The afternoon light catches the water droplets as they drip onto a floral-patterned tarp.
Smooth It Out with a Quick Sand
This is the not-so-glamorous step that makes your paint glide on like butter.
Steps:
- Lightly sand wood or rough metal to remove flakes or rust
- Wipe away all dust with a damp cloth
- For tricky areas, try a sanding sponge or steel wool
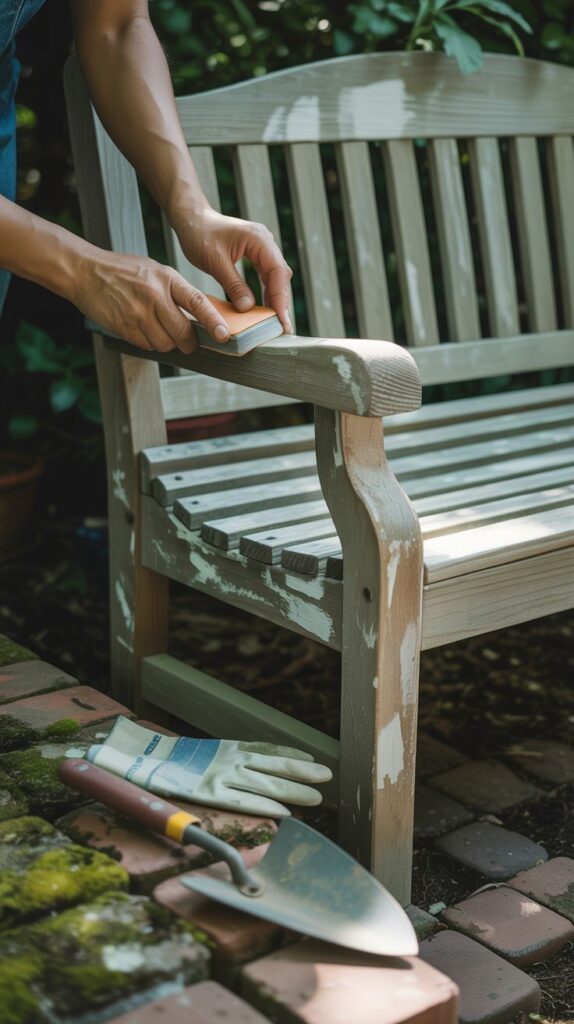
Picture This: Close-up of a hand smoothing the armrest of a bench, sanding away cracked paint. Dust floats in the air while a breeze carries the scent of lilacs.
Tape Off the No-Paint Zones
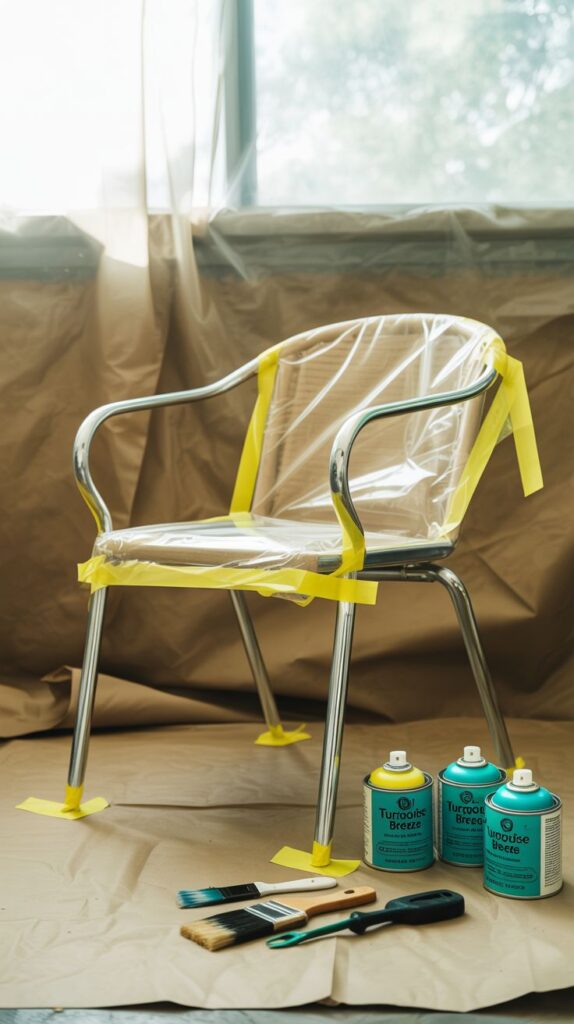
Protect any areas you don’t want painted — like rubber feet, hardware, or labels — with painter’s tape.
Steps:
- Wrap edges neatly with tape
- Use plastic or bags to cover anything too large for tape
Picture This: A sleek black patio chair sits on a tarp, its chrome feet neatly masked with blue tape while cans of glossy turquoise spray paint wait nearby.
Prime Time (Optional but Smart)

Depending on your surface and paint color, a primer can help make your masterpiece last longer and look brighter.
Steps:
- Use a primer made for outdoor use
- Apply in light coats and let dry fully
Picture This: A simple wooden side table with a thin coat of white primer rests on a patio surrounded by potted herbs and a citronella candle.
Paint Your Heart Out
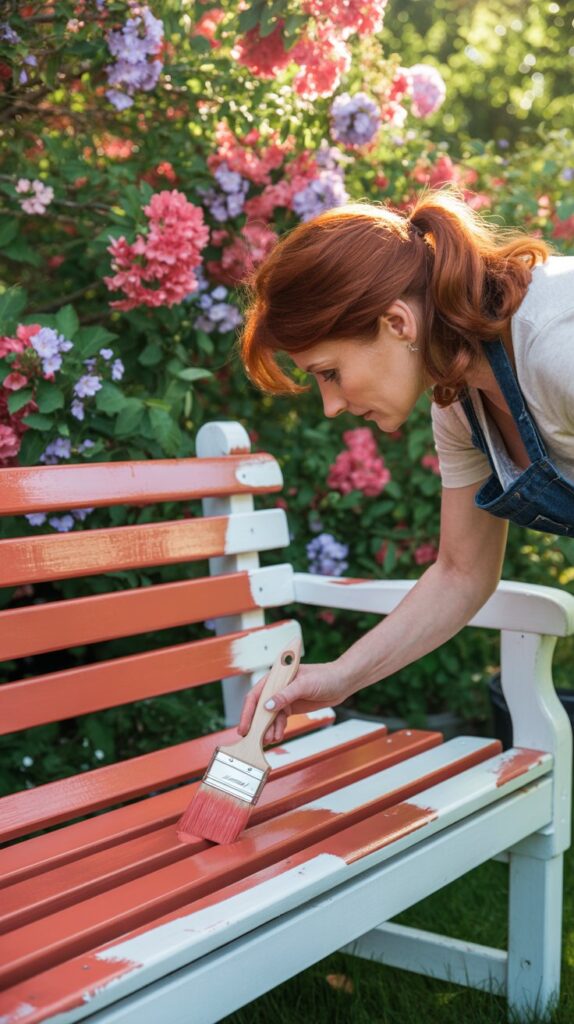
Finally — the part you’ve been waiting for. Choose a color that makes you happy every time you see it.
Steps:
- Shake spray cans well or stir paint thoroughly
- Apply thin, even coats — no rushing
- Let each layer dry before adding the next
Picture This: A vibrant coral-colored spray paints a once-drab garden bench, surrounded by flowering shrubs and a breeze-blown umbrella. A straw hat and iced tea sit nearby.
Protect It with a Topcoat
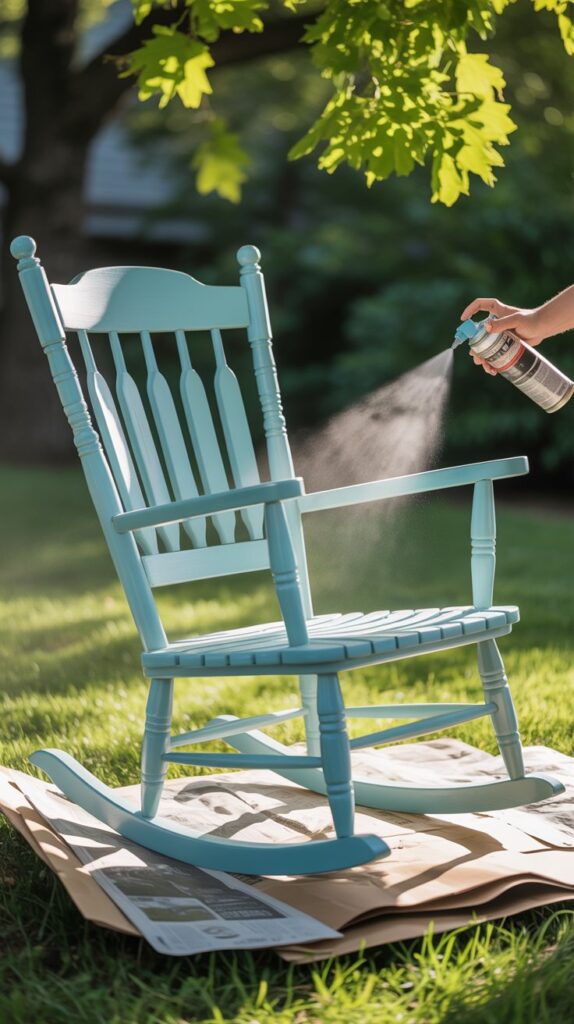
The outdoors can be rough on painted finishes, so seal the deal with a clear weatherproof topcoat.
Steps:
- Use a brush-on or spray sealant made for outdoor use
- Let everything cure for 24–48 hours before using
Picture This: A hand holding a clear can of topcoat sprays over a pastel blue rocker, with sunlight dappling through leafy branches overhead.
Add Flair with Hardware or Stencils
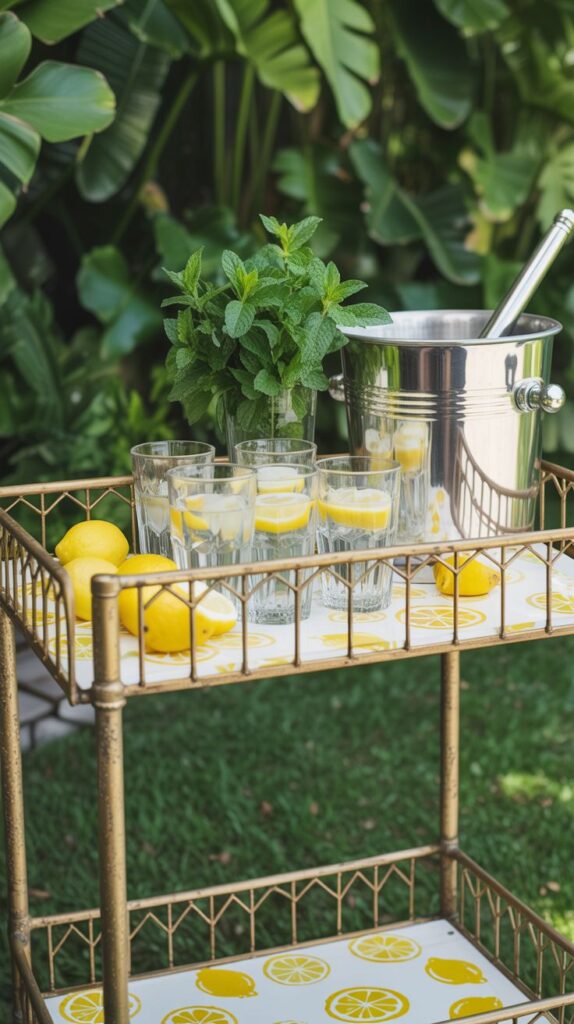
Once the paint is dry, why stop there? You can personalize your project even more with fresh knobs, stenciled patterns, or a splash of gold on the hardware.
Ideas:
- Replace old drawer pulls with something funky
- Use floral or geometric stencils
- Add decorative touches like rope, trim, or decals
Picture This: A vintage metal cart turned bar cart features gold-dipped legs and a painted lemon motif across the top shelf. A pitcher of lemonade and glass tumblers sparkle in the sun.
Style It Like a Pro
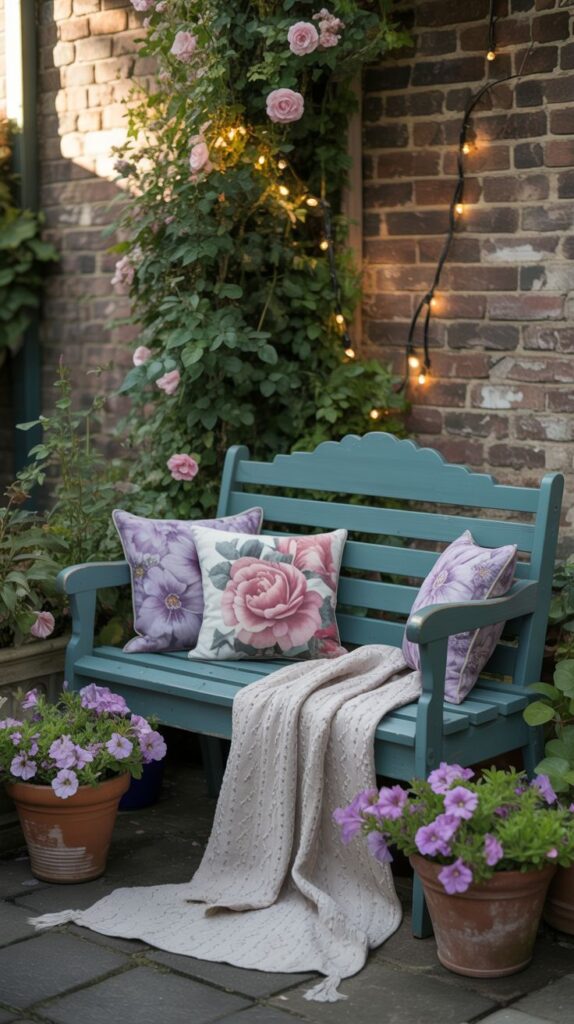
Now for the reward. Set up your revamped piece and layer in the cozy, charming, personality-packed details.
Styling Tips:
- Pair with outdoor pillows, planters, or lanterns
- Tuck next to a garden path or fire pit
- Make it your new morning coffee corner
Picture This: A teal-painted bench styled with a floral cushion, a soft throw, and a book perched beside a pot of geraniums. String lights twinkle just overhead.
The Road Ahead: What This Means for You
When you refresh old outdoor furniture with paint, you’re not just saving money — you’re creating something joyful, sustainable, and so you. It’s a little DIY magic that turns forgotten furniture into feel-good focal points. So grab that brush, pick your favorite hue, and let your creativity shine right in your own backyard.
