Crafting
Set Up Your Perfect DIY Craft Room Step by Step
Your DIY craft room is the one space in your home that belongs entirely to you and your creative brain. No one else gets a vote on the decor. No one else gets to reorganize the shelves.
It’s your happy place, your mess, your rules. And if you’ve been crafting on the kitchen table while nudging aside the salt shaker, friend, it is time.
Setting up a dedicated craft room feels overwhelming at first, especially if you’re starting from scratch or working with a small, awkward space. But I promise you, it doesn’t have to be perfect to be magical.
As an Amazon Associate, I earn from qualifying purchases. Some of the links in this article are affiliate links. This means that, at zero cost to you, I will earn an affiliate commission if you click through the link and finalize a purchase.
A little planning, a few smart storage decisions, and the right mindset will have you crafting in your dream room faster than you think.
This guide walks you through the whole process, step by step, so you can stop dreaming about your craft room and start actually using it.
What You Might Need
Before you start rearranging furniture and buying bins, pull together a few basics to help you plan the space:
- Measuring tape and a notepad
- Graph paper or a free room-planning app like RoomSketcher
- Painter’s tape for marking zones on the floor
- Labels and a label maker (trust me, this becomes an obsession)
- Shelving units, pegboards, or cube organizers
- Good lighting (natural and supplemental)
- A comfortable chair or stool for your main work surface
- Clear bins, stackable drawers, and containers in coordinating sizes
You don’t have to buy everything at once. Start with what you already own and add pieces as you figure out what your workflow actually needs.
Choose the Right Space for Your DIY Craft Room
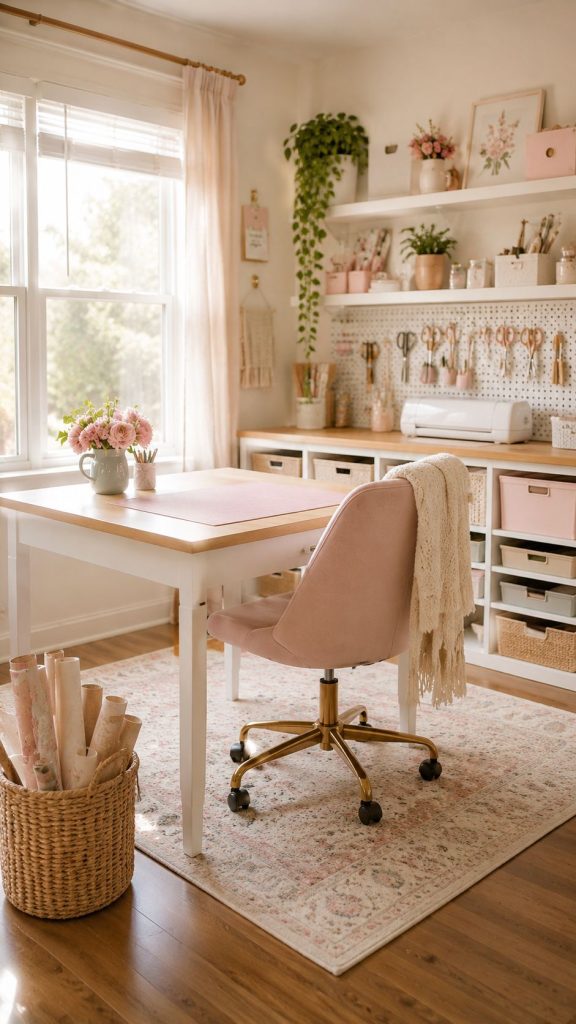
The first step is deciding where your DIY craft room is going to live. Spare bedroom? Basement corner? A bonus room that currently holds a treadmill and your college textbooks? Any of these can work beautifully with the right setup.
Look for a space with decent natural light if possible, since crafting in a dim room leads to eye strain and color-matching disasters you won’t notice until you’re in a different room. Good ventilation also matters if you plan to use paints, adhesives, or a heat gun.
Size matters less than you think. I’ve seen gorgeous craft rooms tucked into a 7×9 closet and chaotic ones in sprawling basements. What actually determines success is how thoughtfully you use the square footage you have.
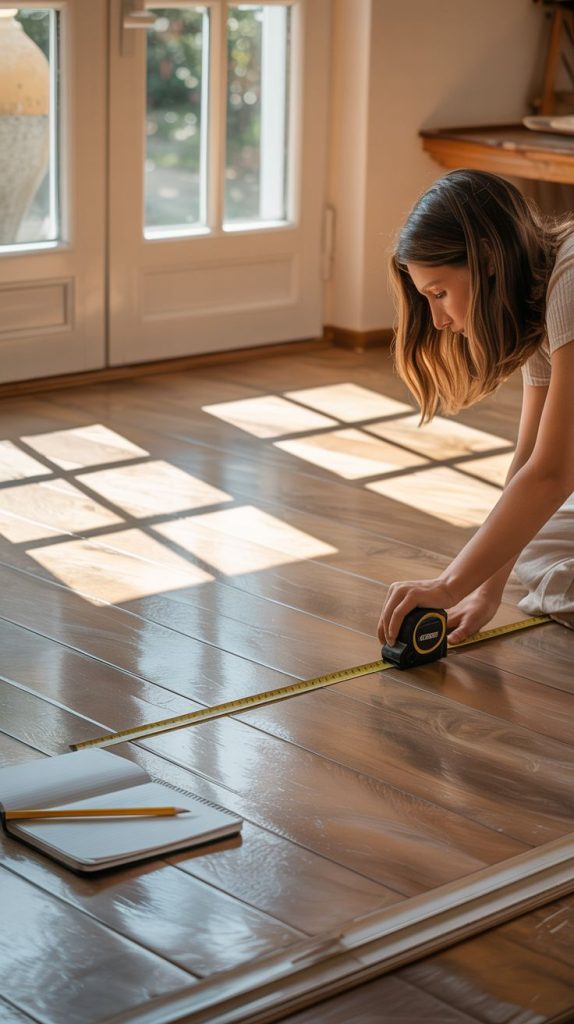
How to Set It Up:
- Walk the space and note where natural light hits throughout the day.
- Mark your main work zone, storage wall, and any specialty stations with painter’s tape before moving a single piece of furniture.
- Check for outlets and plan your layout so power-hungry tools like your cutting machine, iron, and lamp are all within reach without running cords across the floor.
- Consider the floor: a hard surface is way easier to clean up glitter and paper scraps than carpet.
Clear Out and Start with a Clean Slate
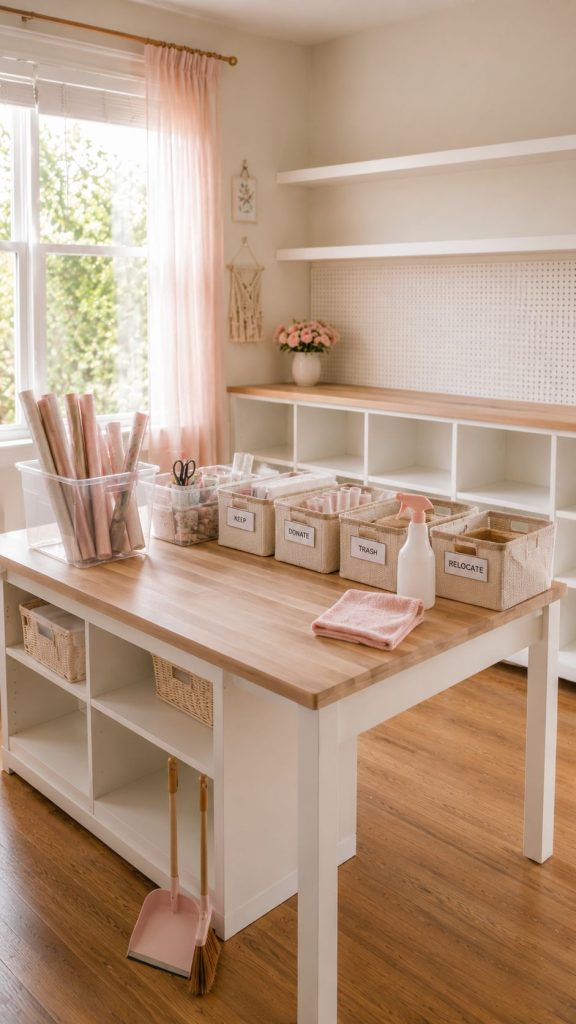
Before you organize anything, you have to deal with what’s already in the space. This step gets skipped constantly and it is the reason most craft rooms eventually dissolve back into chaos. You cannot organize around clutter.
Empty the room as much as you reasonably can. Wipe down shelves, sweep the floor, and for a minute, stand in the empty space and actually picture how you want to feel when you’re in there. Peaceful? Inspired? Like a Pinterest board came to life? Hold that vision.
How to Set It Up:
- Gather all your existing craft supplies into one spot, even if it’s the hallway or a staging table.
- Sort into four piles: keep, donate, trash, and relocate (things that belong in other rooms).
- Be honest with yourself about what you actually use. Supplies you haven’t touched in two years are not going to become your favorite supplies.
- Wipe everything down before it goes back in.
Plan Your Craft Room Zones
A craft room without zones is a craft room that doesn’t work. Zones are the secret weapon of every organized creative space. The idea is simple: activities that go together stay together, and everything has a home.
Think about the types of crafting you do most. Paper crafting, sewing, painting, vinyl cutting, candle making, jewelry making? Each of these has its own tools, its own needs, and its own mess. Grouping them into dedicated zones means you spend your time crafting instead of hunting for your heat tool.
How to Set It Up:
- Identify your top three to four crafting activities and name a zone for each.
- Sketch a rough layout on graph paper before you start placing furniture.
- Give your most-used activity the best spot in the room, meaning the best light and the most accessible storage.
- Leave one small “catch-all” zone for overflow and works in progress so the rest of the room stays tidy.
Choose Your Main Work Surface Wisely
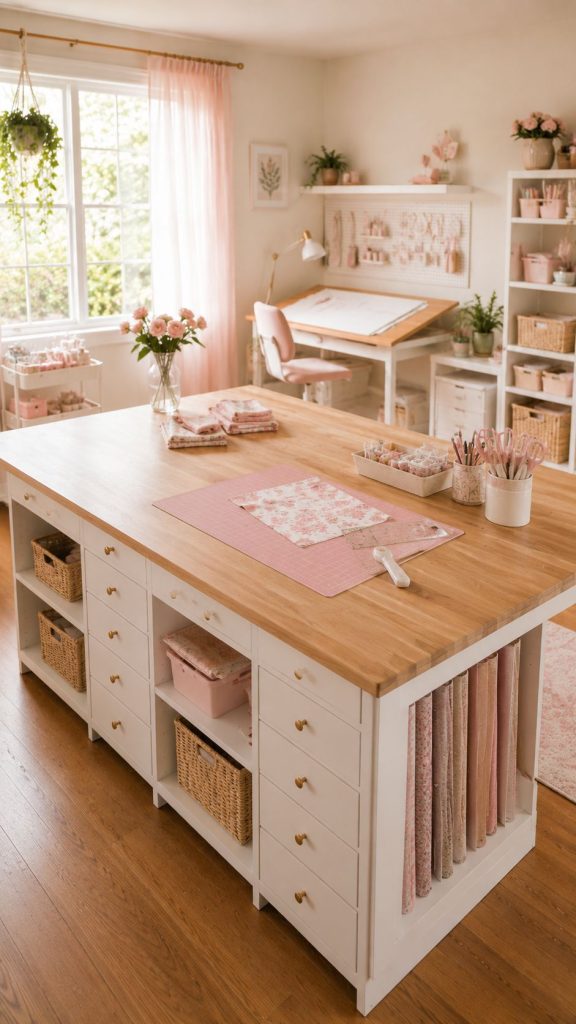
Your work surface is the heart of your DIY craft room. Get this wrong and no amount of cute storage bins will save you. Get it right and you’ll spend hours in there without even noticing.
Height matters enormously. If you sit to craft, a standard desk height around 29 to 30 inches works well. If you stand, aim for counter height around 36 inches. Many crafters actually prefer a mix, with a seated desk for detailed work and a standing table for cutting and assembly.
How to Set It Up:
- Measure your available wall space and choose a surface that fits without cramping the room.
- An IKEA kitchen countertop on base cabinets is one of the most popular budget-friendly options, and it gives you tons of under-counter storage.
- A large folding table works well for overflow or a dedicated cutting station.
- Make sure the surface is easy to clean. Stains happen. Wax, ink, and paint happen. A laminate or sealed wood surface will be your best friend.
Shop It: A large IKEA-style craft table, a folding craft table with side wings, or an adjustable height drafting table
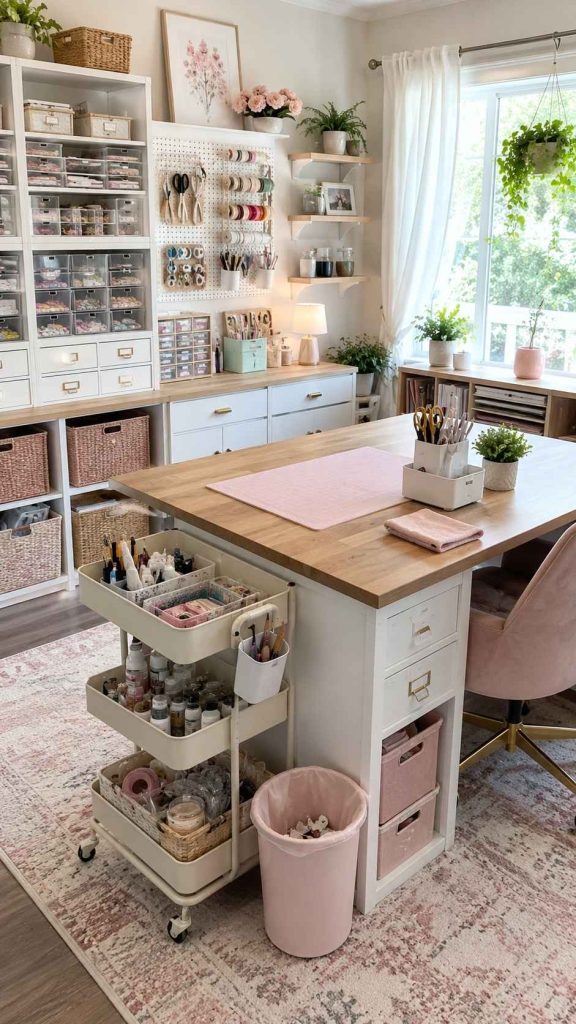
Set Up Smart Storage That Actually Makes Sense
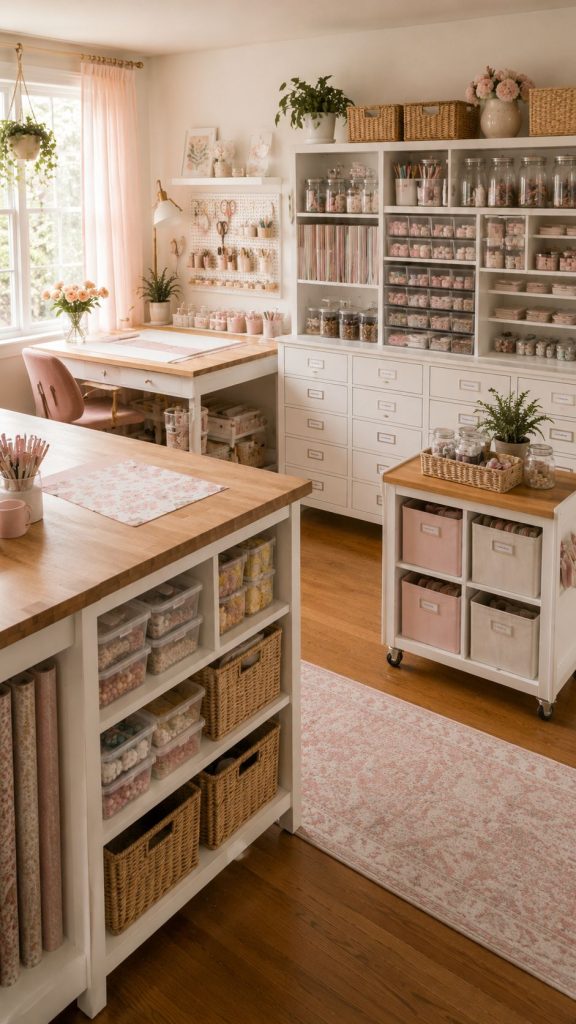
Storage is where most craft rooms win or lose. The goal isn’t to have the most beautiful storage. The goal is to have storage so logical that putting things away feels as natural as taking them out.
Clear containers are your starting point because you can see what’s inside without opening everything. But the real magic comes from categorizing at a level that matches how you actually think. If you always reach for “fall ribbons” as a group, store them together rather than organizing all ribbons by color.
How to Set It Up:
- Use open shelving for supplies you reach for daily.
- Store seasonal or rarely-used supplies in labeled bins up high or in a closet.
- Keep frequently used tools like scissors, tape, and adhesives in a desktop organizer or pegboard right at your work surface.
- Stackable drawers with labeled fronts are a game-changer for small items like brads, eyelets, washi tape, and embellishments.
Shop It: Stackable clear drawers (like the Sterilite 3-drawer cart), a rolling craft cart, or a cube organizer with fabric bins
Install a Pegboard for Tools and Inspiration
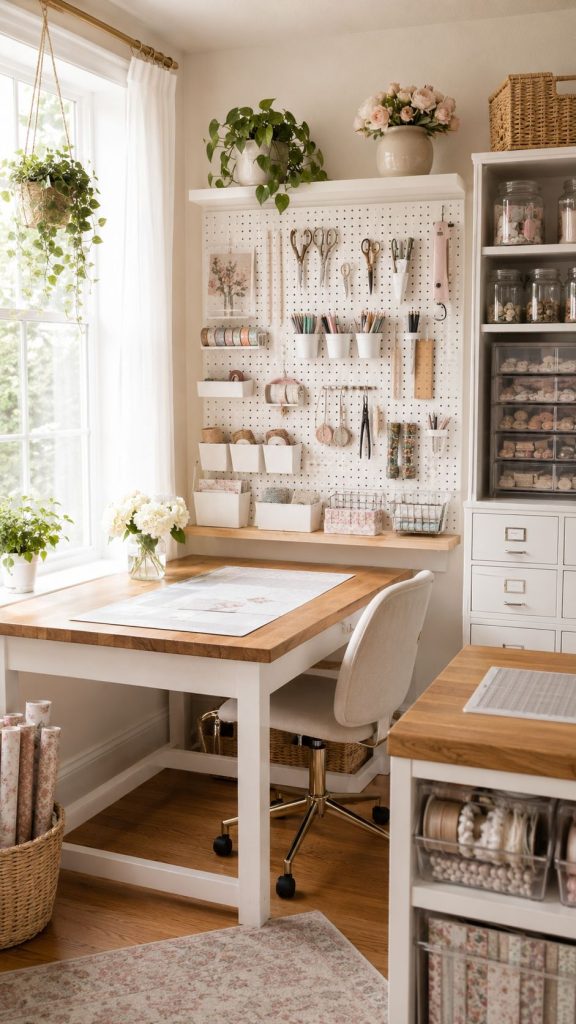
A pegboard is one of the most functional and satisfying additions to any DIY craft room. It keeps tools visible and accessible, it’s endlessly customizable, and it adds a little personality to your walls without a lot of effort.
You can paint a pegboard any color to match your room’s palette. Blush pink with gold hooks is adorable. White with natural wood accessories feels clean and Scandinavian. Black with colorful tools peeking out looks like something from a design magazine.
How to Set It Up:
- Mount your pegboard at your main work surface, ideally right in front of you or to the side.
- Hang scissors, rulers, heat tools, punches, and pens in rows you can scan at a glance.
- Add small baskets or bins to the pegboard for frequently used supplies like washi tape or binder clips.
- Leave a few hooks open for works in progress or inspiration clippings.
Shop It: A white pegboard kit with assorted hooks and baskets, or a freestanding pegboard with a frame if wall mounting isn’t an option
Get Your Lighting Right
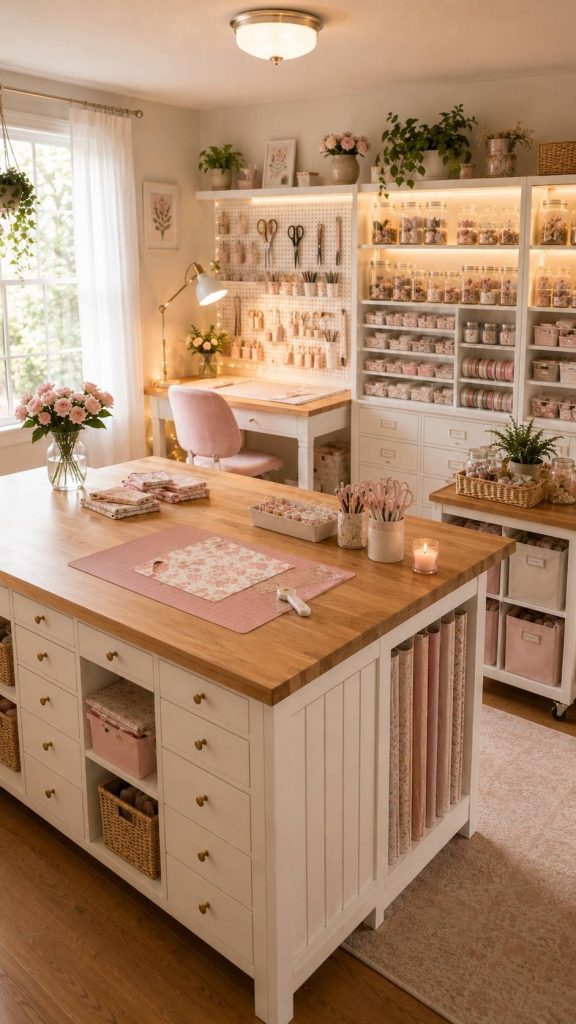
Bad lighting is the silent enemy of every craft room. Overhead fluorescents make colors look different than they are. Dim lamps make detail work miserable. And natural light, while beautiful, isn’t always reliable.
The goal is layered lighting: a bright ambient source overhead, task lighting at your work surface, and accent lighting if you want the space to feel warm and cozy when you’re not in craft-production mode.
How to Set It Up:
- Add an LED daylight bulb (5000K to 6500K range) to any overhead fixture for the most accurate color rendering.
- Place an adjustable arm lamp directly at your work surface for focused task lighting.
- String lights or under-shelf LED strips add warmth and make the room feel intentional and cozy.
- If your room lacks natural light, a ring light or lightbox is a worthwhile investment, especially if you photograph your projects.
Shop It: An OttLite LED craft lamp, a daylight desk lamp with adjustable arm, or an under-shelf LED light strip set
Organize Your Paper and Vinyl Supplies
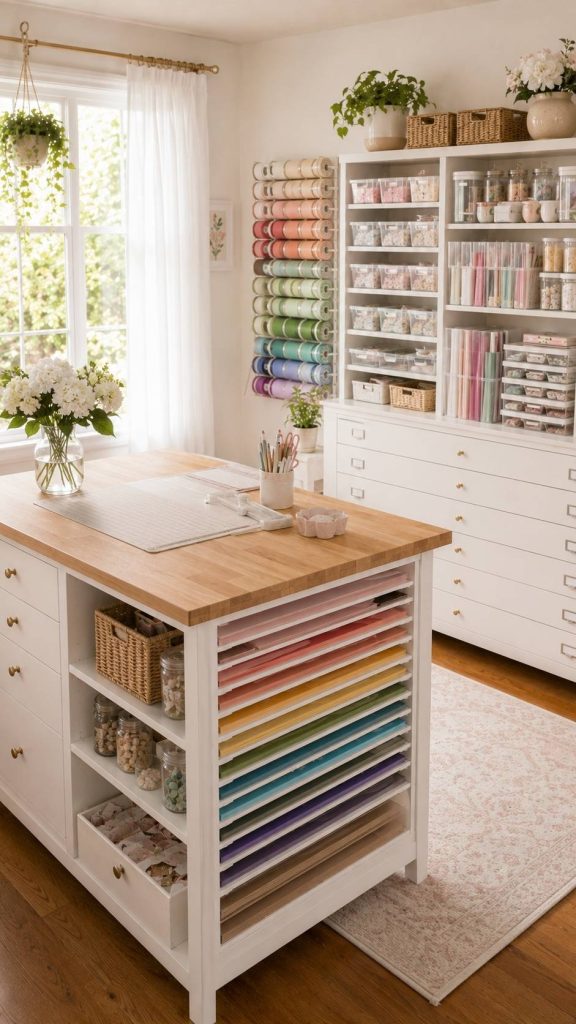
Paper crafters and vinyl cutters, this section is for you. Paper and vinyl have a unique storage challenge because they’re large, flat, and easy to damage if stored carelessly. A bent piece of cardstock or a crinkled vinyl sheet can ruin a project before you even start.
The two main approaches are vertical and horizontal storage. Vertical storage, like a paper organizer or file holder, saves space but can cause curling over time. Horizontal storage, like flat drawers or bins, keeps paper pristine but requires more floor space.
How to Set It Up:
- Store cardstock and specialty paper flat in shallow drawers or in a rolling paper cart sorted by color family.
- Keep vinyl rolls standing upright in a tall bin or mounted on a wall-mounted rod system.
- Label every section clearly, including color, brand, and finish if you use multiple types.
- Use a separate small bin for scraps sorted by color. Scraps add up fast and they’re genuinely useful, so give them a real home.
Shop It: A rolling paper organizer cart, a 12×12 paper storage case, or a vinyl roll holder wall rack
Add Personal Touches That Make It Yours
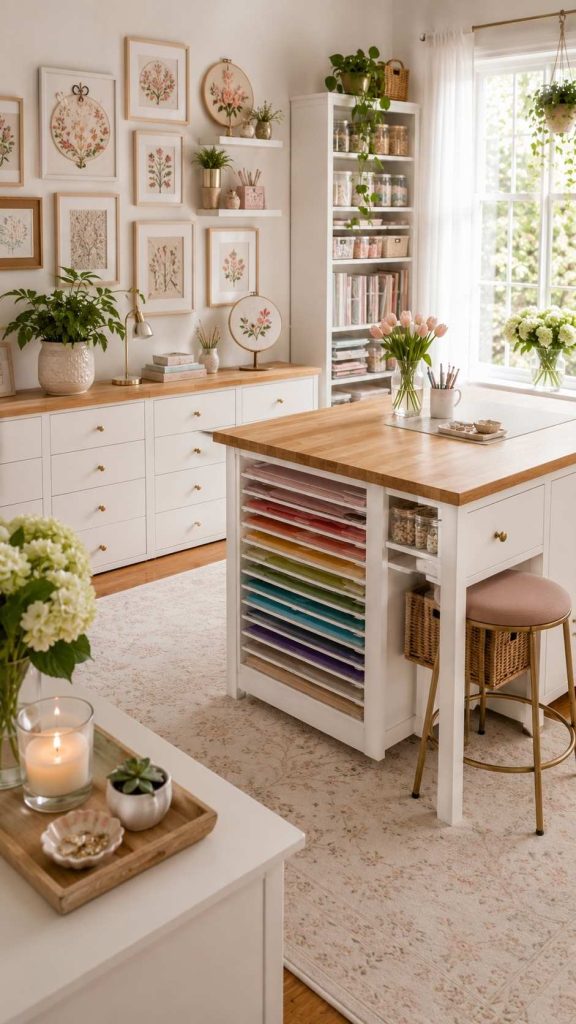
Here’s the part everyone saves for last and then forgets entirely because the room feels “done enough.” Don’t do that. The personal touches are what turn a functional storage room into a space you actually want to spend time in.
Think about what makes you feel creative and energized. A gallery wall of your finished projects? A chalkboard wall for jotting ideas? A small shelf with plants and candles? A color palette that makes you happy every time you walk in? These details matter more than you’d think.
How to Set It Up:
- Paint the walls a color you love, even if it’s bold. This is your space.
- Frame a few of your favorite finished projects and display them as art.
- Add a small rug under your work area for warmth and comfort if you’re on a hard floor.
- Keep a small tray with a candle, a succulent, and maybe a little dish for earrings because crafting long sessions means you’ll be taking those off.
Label Everything in Your DIY Craft Room
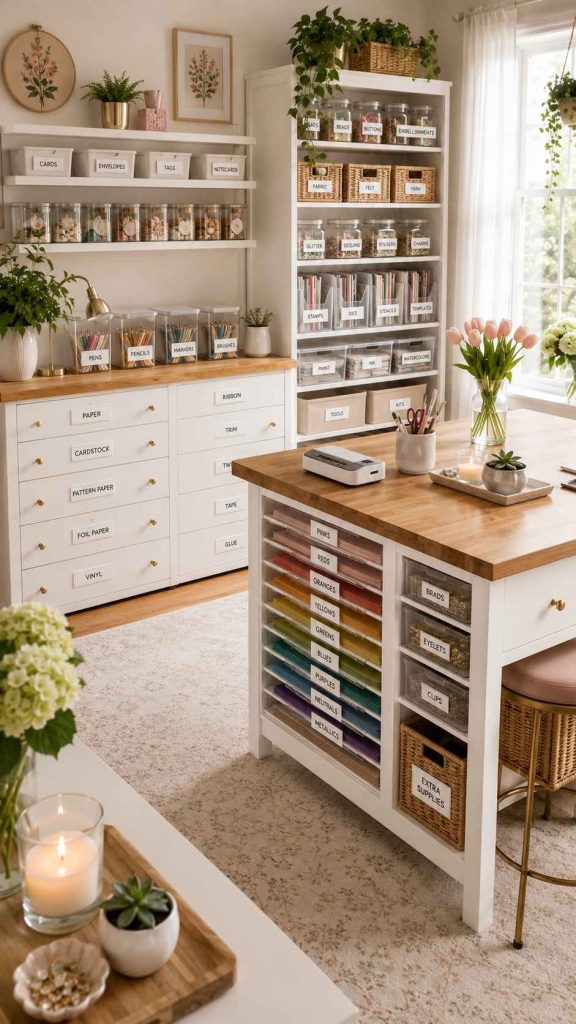
Labels sound boring. They are not boring. Labels are the reason your craft room will still look organized in six months instead of slowly reverting to the chaos it was before. A label maker is honestly one of the best investments you’ll make for this space.
Label every bin, every drawer, every shelf section, and every container. If a label is missing, that spot becomes a catch-all within a week.
How to Set It Up:
- Choose a label style and stick to it throughout the room for a cohesive look.
- Label the outside of opaque containers and the front of drawers.
- Use category labels on shelves even if the containers are clear.
- Update labels whenever you reorganize rather than leaving inaccurate ones in place.
Shop It: A DYMO or Brother label maker, or a set of chalkboard labels with a chalk pen for a more handwritten look
Keep Your DIY Craft Room Functional Long-Term
The real test of any craft room isn’t how it looks on day one. It’s how it functions on day one hundred. Organization systems need to actually work with how you craft, not just look good in photos.
Build a quick reset habit into your routine. Five minutes at the end of a craft session to put tools back, toss scraps, and wipe the surface makes a massive difference. The room should be usable the next time you sit down, not a project in itself.
How to Set It Up:
- Do a monthly “audit” where you reassess what’s working and what isn’t.
- If something keeps ending up in the wrong place, that’s a signal to move its home, not a personal failure.
- Reassess storage as your crafting interests evolve. Your supplies from two years ago might not reflect what you’re doing now.
- Keep a small running shopping list on the wall or in your phone so you’re never running out of basics mid-project.
Frequently Asked Questions About Setting Up a DIY Craft Room
How much does it cost to set up a craft room from scratch? It really depends on how much you already own and how elaborate you want to go. A very functional starter setup can be done for $200 to $400 using IKEA pieces, pegboards, and clear containers. More elaborate setups with custom shelving and furniture can run $1,000 or more.
What’s the most important thing to get right in a craft room? Storage logic. If your storage makes intuitive sense to you, the whole room stays organized. If it doesn’t, you’ll be cleaning it up every other week.
Can I set up a craft room in a small space? Absolutely. A reach-in closet with the doors removed, a dedicated corner of a bedroom, or even a rolling cart system can function as a craft station. The key is working vertically and keeping only what you actively use in the space.
Do I need a cutting machine to have a craft room? Not at all. A cutting machine like a Cricut is a popular tool, but a great craft room works for whatever your specific hobbies are. Build around what you do, not what’s trendy.
How do I keep my craft room organized with kids around? Lower shelves with labeled bins they can access themselves work well if you want them to participate. For supplies that need to stay off-limits, store them up high or in a closet with a latch. A designated “kid craft zone” with their own supplies helps too.
What type of flooring is best in a craft room? Hard flooring is much easier to maintain. Vinyl plank, laminate, or even painted concrete cleans up glitter, paper scraps, and spills without the stress. If you’re stuck with carpet, a large chair mat under your work area helps enormously.
How do I handle overflow supplies when my craft room gets full? A rolling cart or a labeled bin in a nearby closet works well for seasonal supplies or project overflow. The key is making sure overflow doesn’t creep back into the main room on a permanent basis.
