
Christmas
10 Vintage Christmas Decor Ideas, Decade by Decade

Vintage Christmas decor ideas usually get tossed into one big pile, and that’s how a Victorian feather tree ends up sharing a corner with a glowing plastic Santa from 1965. Both are wonderful. Together, they make your living room feel like the back aisle of an antique mall.
Then there’s the box. You know the one. Maybe it came from your grandmother’s attic or a church rummage sale, and it’s full of faded glass balls and a ceramic something with little plastic bulbs. You love it, but you have no idea how old any of it is or where it should go.
Here’s what we’re doing about that. Below we walk through Christmas decor history one era at a time, from the Victorian parlor to the shabby chic 1990s, with one real decoration from each decade. For every piece you’ll get the true backstory and a few clues for spotting an original. After that, we’ll talk about where it looks right in your home today. Pick the era that matches your box, or the one that makes you grin, and let a few pieces with real history lead the room.
What You Might Need
- The old ornaments and hand-me-downs you already own, chipped ones included
- A few thrift store or estate sale finds from one era
- Vintage-inspired reproductions to fill the gaps
- Ornament hooks and museum putty for fragile pieces
- Battery-operated fairy lights for anything made of paper or cardboard
1848: Hang Victorian Paper Ornaments and Cornucopias on the Mantel
As an Amazon Associate, I earn from qualifying purchases. Some of the links in this article are affiliate links. This means that, at zero cost to you, I will earn an affiliate commission if you click through the link and finalize a purchase.
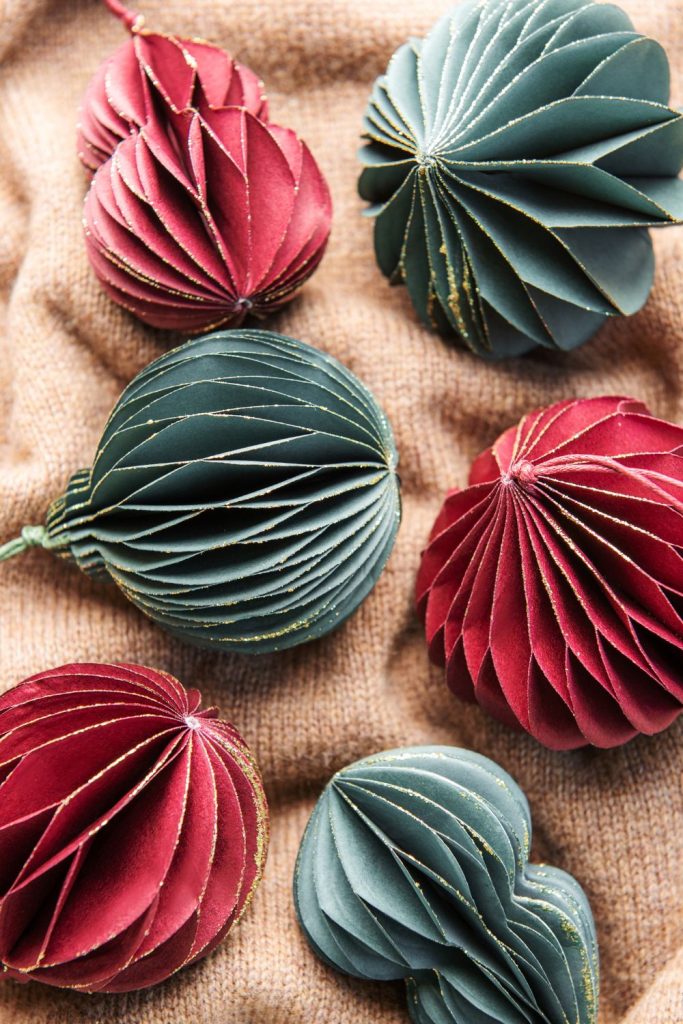
Picture a mantel draped in fir, with little paper cones hanging along it. Each one is edged in gold foil trim and holds a peppermint. That’s a Victorian Christmas, and it’s a lot more homemade than most people expect.
The decorated tree went mainstream after the Illustrated London News printed an engraving of Queen Victoria and Prince Albert with their children gathered around one in December 1848. According to Newcastle University Special Collections, that image “spread the fashion to the rest of society.”
Paper did a lot of the decorating back then. According to Sew Historically, Victorian Dresden ornaments look like pressed tin but were made of thick paper and cardboard, and stars and animals were the favorite shapes. Victorians also collected die-cut paper images called scraps, which, according to Tinsel Trading, went into scrapbooks or got turned into ornaments. And according to D. Blümchen, candy given in a fancy little container was often kept afterward as a keepsake ornament for the tree.
- Roll a cone from heavy cardstock or leftover wallpaper and glue the seam closed
- Edge the top with gold Dresden-style paper trim
- Glue a scrap image to the front and add a ribbon loop for hanging
- Fill each cone with wrapped peppermints or a sprig of cedar
- Clip a handful of old Christmas cards along the garland with mini clothespins
How to Style It:
- Space the cornucopias unevenly along the garland so it feels hand-hung
- Keep the palette to deep red and gold, with the cream of the paper as your neutral
- Use flameless taper candles on a paper-heavy mantel. Real flames and paper cones make a bad pair.
- Pick your five or six prettiest cards. A card on every inch of garland starts to look like a bulletin board.
Shop It: A pack of reproduction Victorian scrap paper sheets from Amazon gives you enough die-cut angels and florals to cover a dozen cornucopias, and the leftovers make lovely gift tags.
1880s: Set Up a German Feather Tree
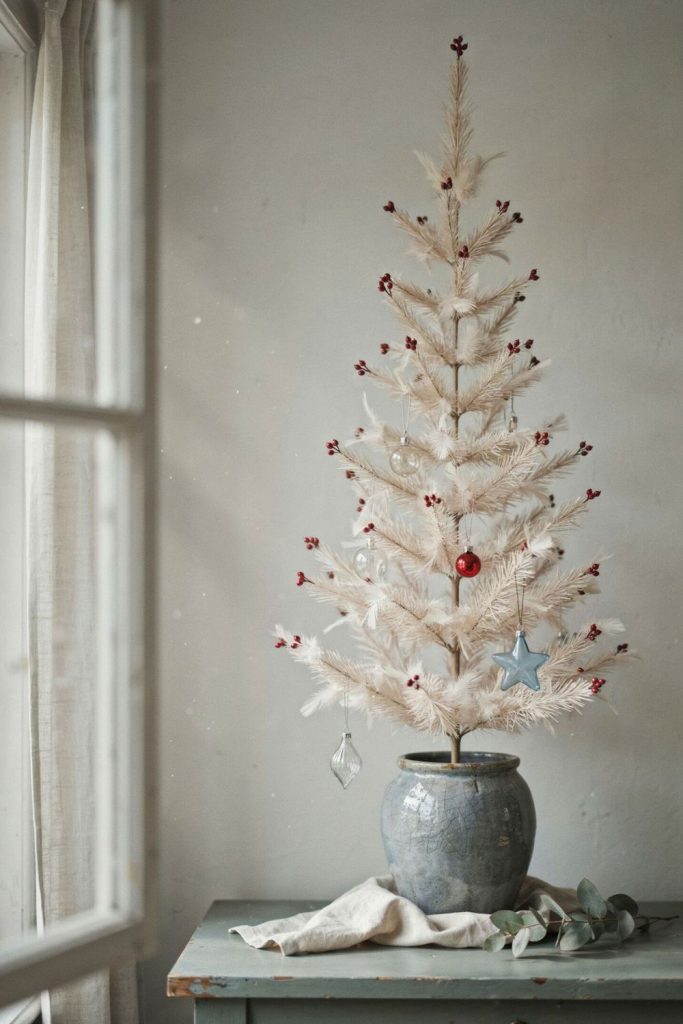
A feather tree looks almost sketched. The branches are thin and spaced far apart, so every ornament gets its own little patch of air, and the tips often end in a small red berry.
According to Wikipedia’s history of feather Christmas trees, Germans first made them in the 1880s or 1890s from green-dyed goose feathers wired onto branches. They were partly a response to worries about deforestation from cutting so many Christmas trees. German immigrants brought the tradition to the United States, where feather trees caught on in the early 1900s, and those red berries on the tips often doubled as candle holders.
- Choose a tabletop size, somewhere around 2 to 4 feet, for a side table or dresser
- Look for wide gaps between the branch tiers, since that sparse shape is the whole charm
- Inspect an antique one for loose feathers or rusty wire before paying collector prices
- Set it in an old crock or a small wooden box for a rustic farmhouse base
How to Style It:
- Hang small, lightweight ornaments so the thin branches don’t droop
- Give each ornament its own branch tip and leave the gaps open
- Wrap the base in a scrap of old linen or grain-sack fabric
- Keep it to one feather tree per room. A cluster of them reads like a shop display.
Shop It: A tabletop feather tree from Amazon gives you the classic silhouette without the fragility of an antique, and it’s small enough to store on a closet shelf.
Late 1920s: Light Up a Glittery Putz House Village
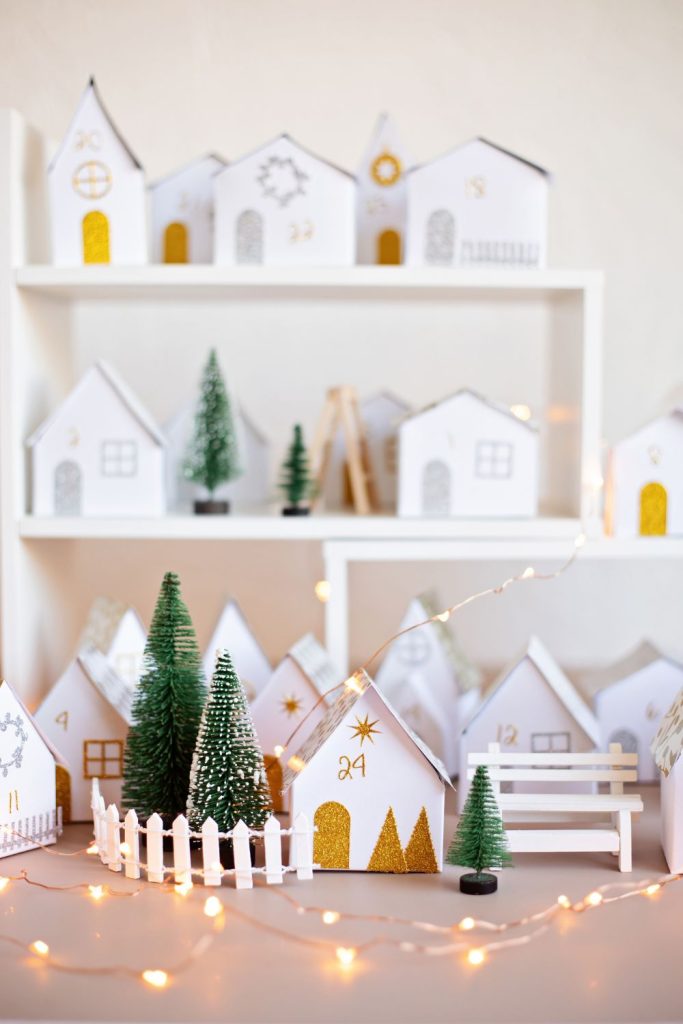
These little cardboard houses are pure magic after dark. Glitter sparkles on the roofs, and a soft glow comes through every tiny window.
The word putz comes from the German putzen, meaning to decorate or adorn, according to The Golden Glow of Christmas Past. The same source traces the glitter houses to around 1927 or 1928, when a buyer for the dime stores brought pictures of American homes to a Japanese manufacturer. Many had a round opening in the back that originally held candy. At some point, someone thought to put a light in that hole and build a glowing village under the tree.
Dating them takes a little practice. According to Golden Glow, houses made after the war had gotten smaller and flimsier by the early 1950s, so the sturdy, detailed ones tend to be older.
- Turn each house over and look for that round opening in the back
- Clear a mantel or a low bookshelf for your village
- Build hills by stacking books or boxes under a sheet of cotton batting
- Slip a battery fairy light into each opening, which keeps hot bulbs away from old cardboard
How to Style It:
- Set houses at different heights so the village looks like it climbs a hill
- Plant bottle brush trees between the houses
- Sprinkle a thin dusting of faux snow along the paths
- Add a tiny figure or two, like a skater or a deer
- Stop around six to eight houses per shelf. Past that, it starts to look like storage.
Shop It: A set of mini bottle brush trees from Amazon fills the gaps in a putz village, and later in the season they work on their own along a windowsill or bar cart.
1938 and Still Going: Set a Spode Christmas Tree Tablescape
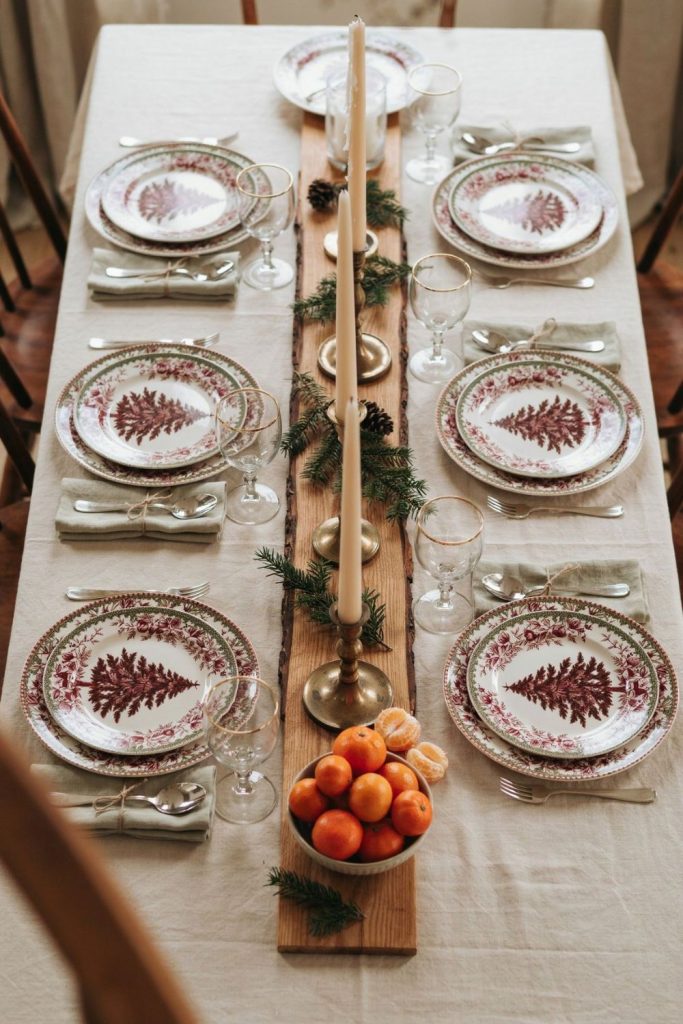
Some vintage pieces never left the stores, and this plate is the best example. You may have eaten Christmas dinner off it at somebody’s house without knowing its story.
According to the Spode History blog, designer Harold Holdway created the Christmas Tree pattern in 1938, and he added wrapped gifts at the foot of the tree after being told that’s how Americans did it. Factory legend says he wasn’t sure what went on top of a tree, which is why his has a Santa up there. After salesmen were swamped with orders, the pattern grew into full table services. Spode marked the pattern’s 85th year in 2023.
- Start with four to eight dinner plates in the pattern, new or thrifted
- Mix in thrift store glassware with gold rims
- Use a plain cream tablecloth so the plates carry the color
- Add mismatched vintage silverware from an estate sale
How to Style It:
- Lay a low runner of cedar or boxwood down the center
- Tuck a vintage ornament or a small wrapped gift at each place setting
- Light a row of taper candles in brass or pressed-glass holders
- Keep the centerpiece low enough to talk over. A tall arrangement cuts the table in half.
- Point out the Santa on top of the tree to the youngest guest. Kids love finding him.
Shop It: A set of Spode Christmas Tree dinner plates from Amazon gives you the pattern behind so many family traditions, and it mixes easily with thrifted glassware and linens.
1940s: Hunt for Wartime Shiny Brite Ornaments
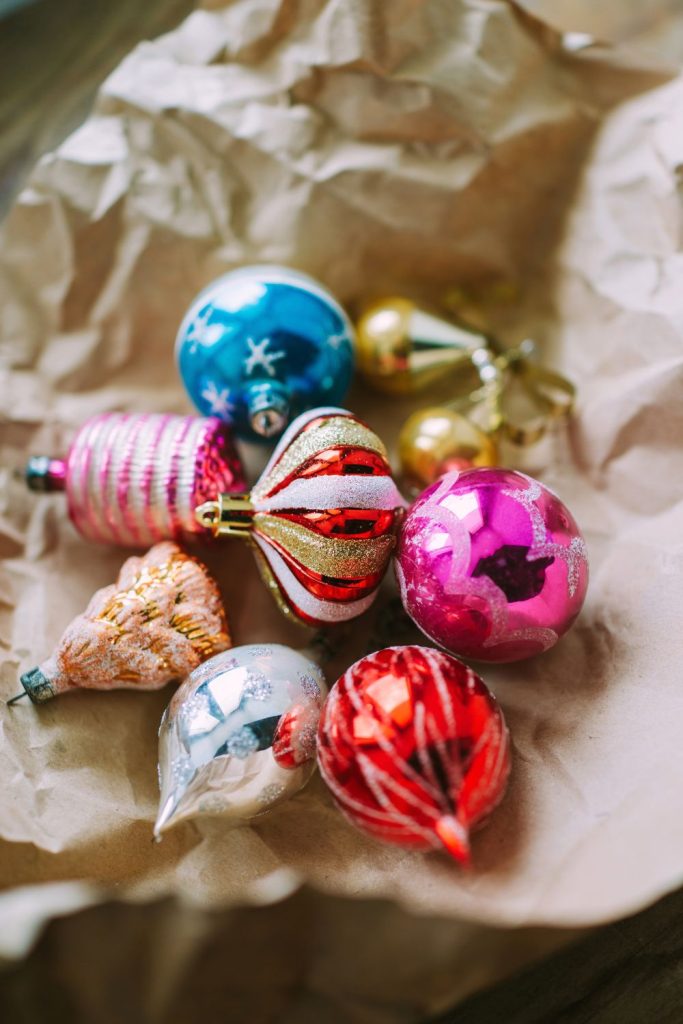
Hold a wartime Shiny Brite up to the window and you can see right through it. You’ll spot soft pastel stripes, maybe a wisp of tinsel floating inside, and a little cardboard cap on top.
According to Wikipedia, Max Eckardt founded Shiny Brite in 1937 and worked with Corning, which adapted its light bulb process to make the glass. Then the war made materials scarce. According to Antique Trader, wartime ornaments had cardboard and paper toppers with yarn hangers, and many were left unsilvered, either clear with tinsel inside or hand-painted in simple pastels. The same article says the boxes often showed Santa shaking hands with Uncle Sam.
A cardboard topper is your best clue for the war years. Keep in mind that, according to Wikipedia, Christopher Radko has reissued popular Shiny Brite designs under the same name since 2001, so a pristine box could be brand new.
- Look for them at estate sales and church rummage sales
- Hang on to any original boxes, which help with dating and add to the story
- Hold each ornament to the light and check for cracks around the neck
- Store them in egg cartons or their boxes with tissue between each ball
How to Style It:
- Fill a clear glass bowl or apothecary jar with your pastel wartime balls
- Hang the see-through ones near a window or lamp, where light can pass through them
- Add something homemade nearby, like a paper chain cut from old sheet music
- Keep the bowl to one color family. A jumble of every ornament you own muddies that soft wartime look.
Shop It: A box of Shiny Brite reissue ornaments from Amazon fills out the tree with the right vintage shapes, so your real wartime finds can stay safe in a bowl on the coffee table.
1946: Clip Bubble Lights Onto the Tree
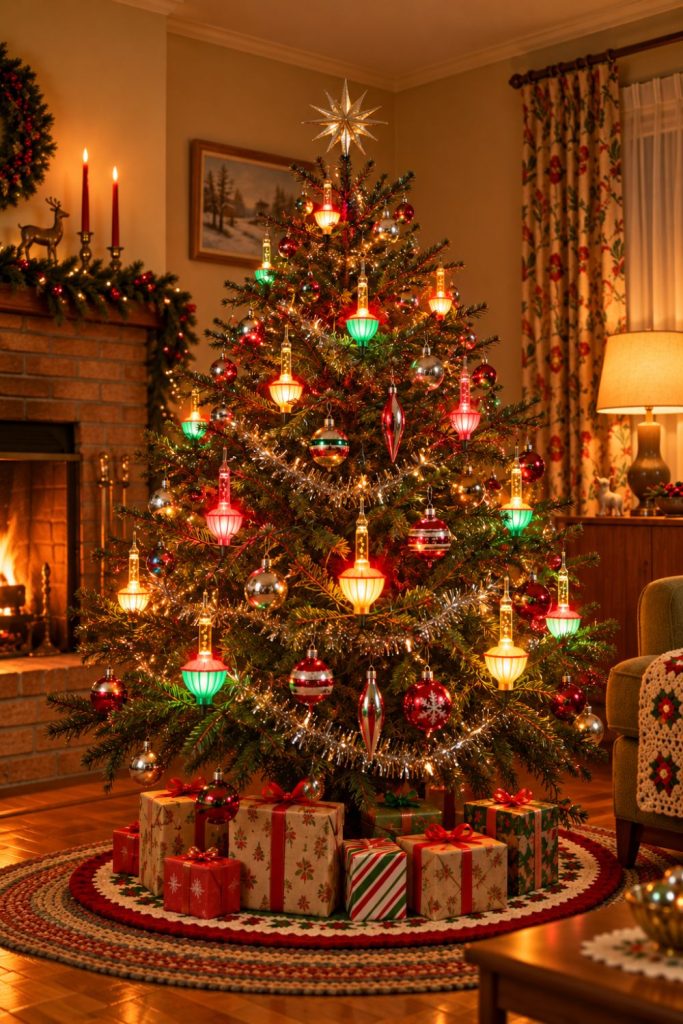
There’s nothing quite like watching a bubble light wake up. It sits there glowing for a few minutes, and then tiny bubbles start rising up the tube, one after another.
According to Wikipedia’s entry on bubble lights, Carl W. Otis patented them in 1944, and NOMA introduced them in 1946. They stayed popular from the 1940s through the 1970s, until miniature fairy lights took over. The liquid inside boils at about 103°F, so the bulb’s heat gets it bubbling. The same entry notes that the liquid is almost always methylene chloride, a toxic solvent, so an old set needs a little extra care.
- Test a vintage set on a table before it goes on the tree, and check the cords for cracks
- Clip each light so it stands straight up on the branch
- Give them several minutes to warm up before deciding one is a dud
- Hang vintage bubble lights high enough that kids and pets can’t reach them
How to Style It:
- Space the bubble lights evenly around the tree, with plain lights filling in behind them
- Repeat the bubble light colors in a few glass ornaments nearby
- Put the tree on a timer so the bubbles are going by the time family arrives
- Stop at one strand of bubble lights per tree. They’re busy on their own, and a second strand turns the tree into a light show.
Shop It: A modern bubble light set from Amazon lets you enjoy the look every night while your fragile originals go on a high branch or a display shelf.
1959: Put Up an Aluminum Tree With a Color Wheel
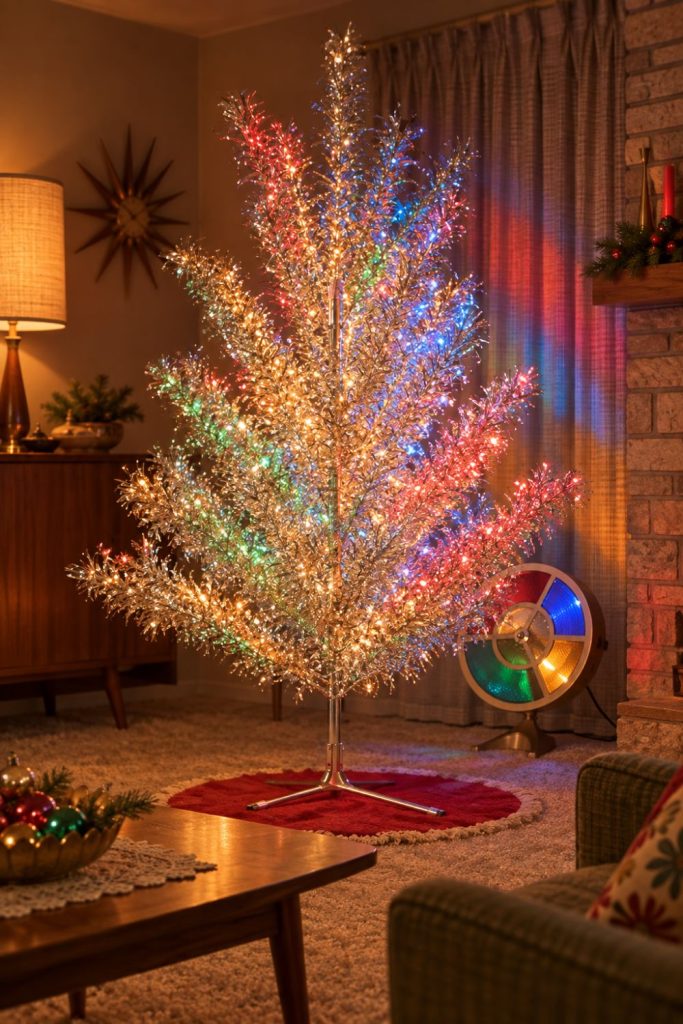
Picture a silver tree in a dim living room, with a little wheel on the floor slowly washing it red, then blue, then green, then gold. It’s the most space age thing you can do at Christmas.
According to the Wisconsin Historical Museum, the Aluminum Specialty Company produced hundreds of thousands of its Evergleam trees in time for the 1959 holiday season, and sales soared. According to Wikipedia’s aluminum Christmas tree history, stringing electric lights through the metal branches could cause a short circuit, so a color wheel on the floor lit the tree. That same page says the 1965 airing of A Charlie Brown Christmas has been credited with ending the era, and by 1967 the trend had almost completely passed.
They’re wanted again now. Wikipedia also notes that a rare 7-foot pink aluminum tree sold online for $3,600 in 2005.
- Never string electric lights on an aluminum tree. Light it with a color wheel on the floor.
- Set the tree near a pale wall so the colors bounce around the room
- Check an old tree for missing or crushed branches before you buy
- Pack the branches loosely when you take it down so the fringe doesn’t flatten
How to Style It:
- Decorate with glass ball ornaments in one color, like all red or all turquoise
- Skip garland and tinsel so the shiny branches stay the focus
- Carry the mid-century look into the room with a starburst clock or a low credenza
- Keep everything else nearby simple. An aluminum tree already brings plenty of shine.
Shop It: A rotating color wheel light from Amazon is the finishing piece for any aluminum or tinsel tree, and it throws fun color on a white wall at a holiday party too.
Early 1960s: Bring In Blow-Mold Santas and Figures
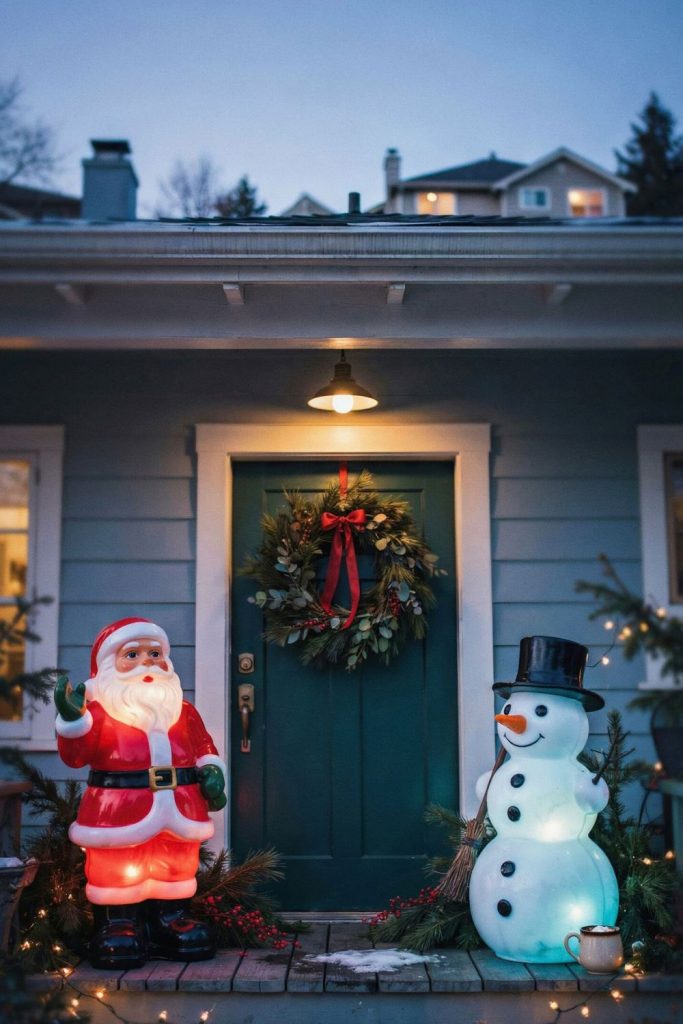
A blow-mold Santa glowing on the front step is peak kitschy Christmas, and I mean that as a compliment. Those hollow plastic figures light up from the inside with a soft, candy-colored glow.
According to The Golden Glow of Christmas Past, manufacturers started producing blow-molded Christmas decorations early in the 1960s, with Beco, Poloron, Union Products, and NOMA/Tico among the first.
- Check vintage pieces for cracks and sun fading before buying
- Swap a worn cord and bulb for a new light kit before plugging it in
- Bring the smaller figures indoors onto a bench or stair landing
- Group a Santa with one or two companions, like a snowman or a caroler
How to Style It:
- Set a pair of matching figures on either side of the front door
- Put a tabletop-size Santa on a kitchen counter where he gets seen every morning
- Tuck fresh greenery around the base so the plastic feels softer
- Stick to one or two groupings. A yard packed with figures is a whole different kind of fun.
Shop It: A light-up blow-mold style Santa from Amazon gives you the retro glow in a newer piece, which helps if you’d like to keep your originals out of the weather.
1960s and 1970s: Glow It Up With a Ceramic Christmas Tree
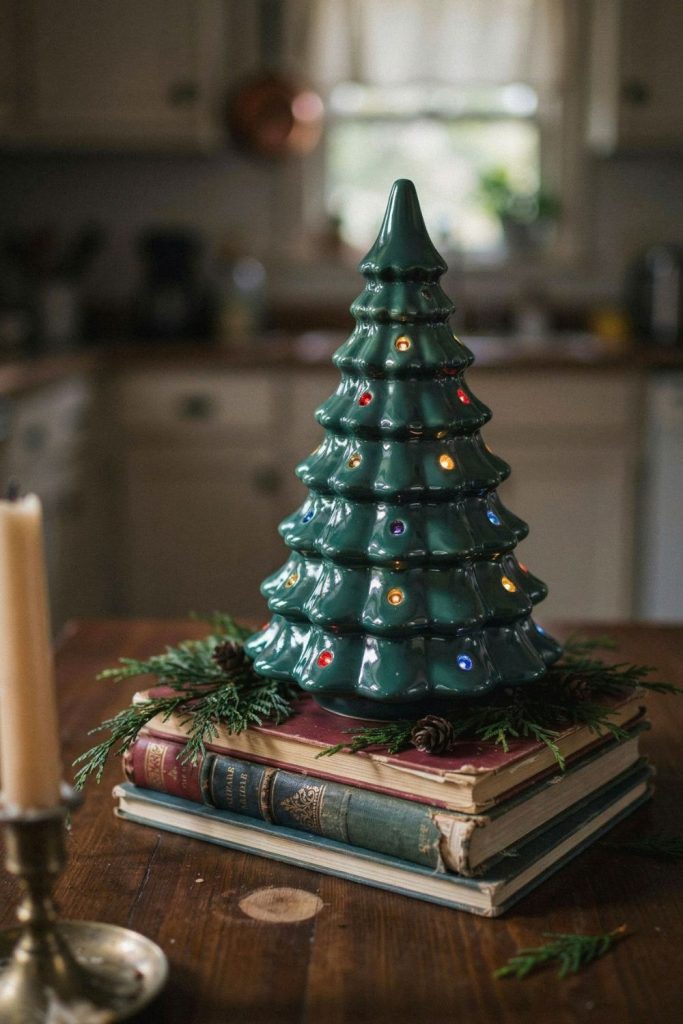
That glossy green tree with tiny plastic bulbs sitting on somebody’s kitchen counter is pure nostalgia. If someone in your family took a ceramics class back then, ask whether they painted one.
According to the American Ceramic Society, ceramic trees first showed up in the 1940s and hit their peak in the 1960s and 1970s, when craft shops ran workshops where people made their own from mass-produced molds. The Atlantic Mold Company is credited with copyrighting one of the first designs, A-64, in 1958. Later trees used a single light inside to glow through all the colorful plastic bulbs at once. They faded out in the 1980s, but the same source notes that owners can sometimes sell an old one for a fair amount of money.
- Ask older relatives about any trees they made. A family-painted tree is an heirloom with a story.
- Check the cord and bulb in the base, and replace them with a new light kit if needed
- Count the plastic bulbs and fill any empty holes with a replacement set
- Place it where you’ll see it glow at night, like a kitchen windowsill or a dark hallway
How to Style It:
- Set it on a stack of old books to give it height on a sideboard
- Let it be the only lit piece on that surface so the bulbs really pop
- Surround the base with a ring of fresh cedar
- Write the painter’s name and the year on a tag and tuck it underneath for whoever inherits it next
Shop It: A light-up ceramic Christmas tree from Amazon captures the same glossy green look and plastic bulbs, and it’s a sweet gift for anyone who remembers the one at Grandma’s house.
1989 and the 1990s: Shabby Chic Ties Together All These Vintage Christmas Decor Ideas
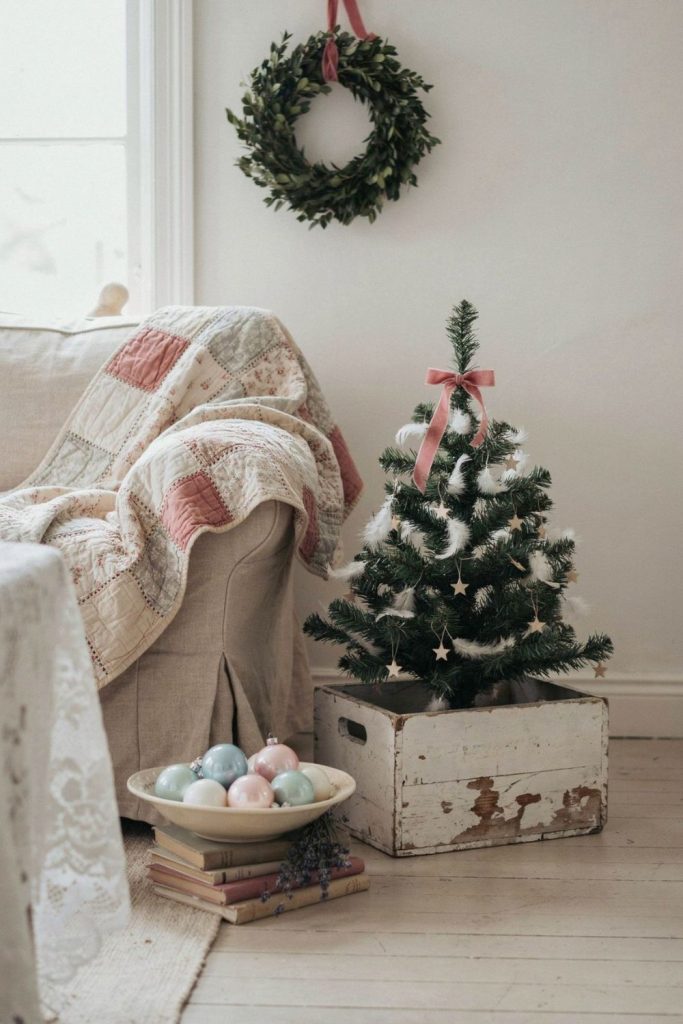
Here’s where the timeline wraps up, and it’s a handy stop. Shabby chic takes faded colors and chippy white paint and makes them feel soft and intentional, which means pieces from every era above can sit side by side.
According to Wikipedia, Rachel Ashwell opened her first Shabby Chic store in 1989, and the look centered on faded, wrinkled furnishings from flea markets. Her first book, Shabby Chic, came out in 1996.
- Pick a soft base palette of white and faded pink
- Paint one thrifted frame or crate in chalky white and let it chip at the edges
- Layer an old quilt over the sofa arm under your Christmas pillows
- Set one piece from an earlier era, like a feather tree or a bowl of pastel Shiny Brites, into this soft setting
How to Style It:
- Hang a simple wreath from a length of faded velvet ribbon
- Use old linen napkins as skirts for small tabletop trees
- Let worn wood and old glass do most of the work
- Keep the palette pale. One bright red piece in a shabby chic room pulls every eye straight to it.
Shop It: A set of whitewashed wooden crates from Amazon gives you instant chippy texture for stacking a small tree or a putz village, and they work as storage the rest of the year.
The best vintage Christmas decor ideas start with a piece you already love and a little of its real history. Pick one era and let your oldest or most meaningful pieces lead, and let reproductions fill in the rest. Your home ends up looking like it has a story to tell, with the chipped Shiny Brite from Grandma’s box right up front where everyone can see it.
Frequently Asked Questions
How can I tell which era my old Christmas ornaments come from?
Start with materials and packaging. Shiny Brites with cardboard or paper toppers point to the World War II years, and sturdier, more detailed putz houses tend to be older than the simpler postwar ones. Original boxes help a lot too.
Are vintage bubble lights safe to use?
Old bubble lights hold a toxic liquid, methylene chloride, so hang them high and check the cords for cracks first. Many people use a modern set for everyday and keep the originals for display.
Can I put string lights on an aluminum Christmas tree?
No. Electric lights on the metal branches can cause a short circuit. Use a rotating color wheel on the floor, the way these trees were lit from the start.
Is it okay to mix real vintage pieces with reproductions?
Yes. Vintage-inspired pieces are great for filling a tree or a table, and they let your fragile originals sit somewhere safe where people can see them without handling them.
Where can I find real vintage Christmas decorations?
Estate sales, thrift stores, church rummage sales, online marketplaces, and your own family’s attic are all good places to start. Ask relatives first, since the pieces with a family story usually mean the most.
How should I store vintage Christmas ornaments?
Wrap each glass ornament in tissue and store it in an egg carton or its original box. Keep paper and cardboard pieces in a dry spot, and pack aluminum tree branches loosely so the fringe stays full.